
These burlap tea bag jars are the perfect way to store my special tea bags. Their romantic look seems to be just waiting for me to reach in and start a new memory!
This DIY project is easy to put together with a few basic supplies and a couple of hours of time.
Burlap is very durable and versatile. I’ve used it to make wreaths, Easter egg decor, and wine bottle covers!
Today, it’s time to make some tea bag holders. Keep reading to learn how to make them.

Supplies for these burlap tea bag holders
To make this project, you’ll need the following supplies:
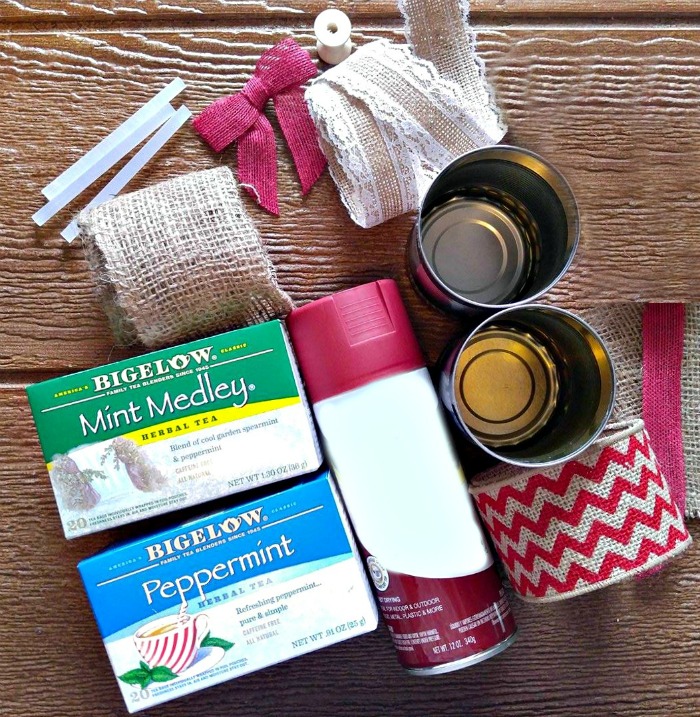
- 2 empty aluminum cans, cleaned thoroughly
- 1 length of plain burlap ribbon 2 1/2″ wide
- 1 length of chevron burlap ribbon 2 1/2″ wide
- 2 pieces of burlap material, about 4″ square.
- 1 wooden spool (cut this in half and use half for each tea bag jar)
- 1 can of burgundy spray paint with a matte finish
- 1 length of 3/4″ wide burgundy burlap ribbon
- 1 length of lace burlap ribbon 1 1/2″ wide
- 1 burlap burgundy colored bow
- 1 length of jute twine
- Hot glue gun and glue sticks
- some of your favorite teabags
Directions for making the burlap tea bag holders
Start by spraying the cans and lids, both inside and out. The lids are sharp now, but will be covered in fabric later.
Allow the paint to dry completely.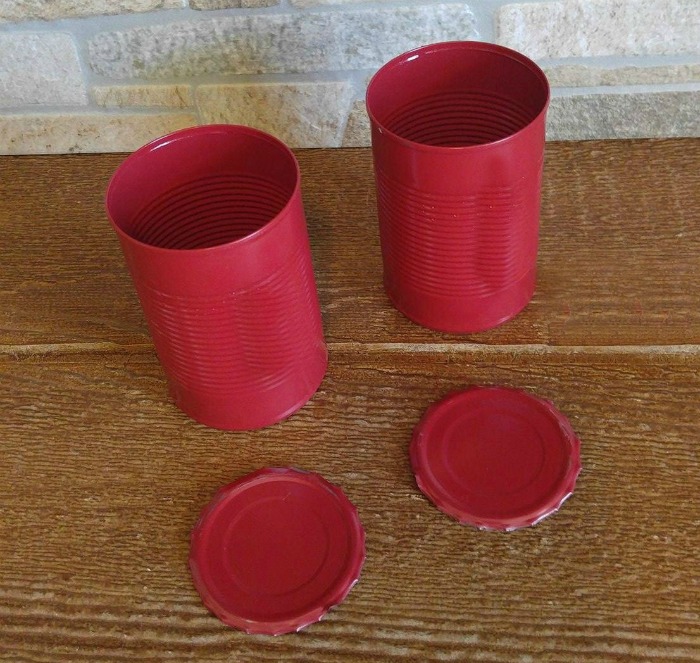
Lightly attach the 3/4″ wide burgundy ribbon to the middle of the 1 1/2″ wide burlap lace ribbon with hot glue. Then attach this piece to the middle of the wide plain burlap ribbon.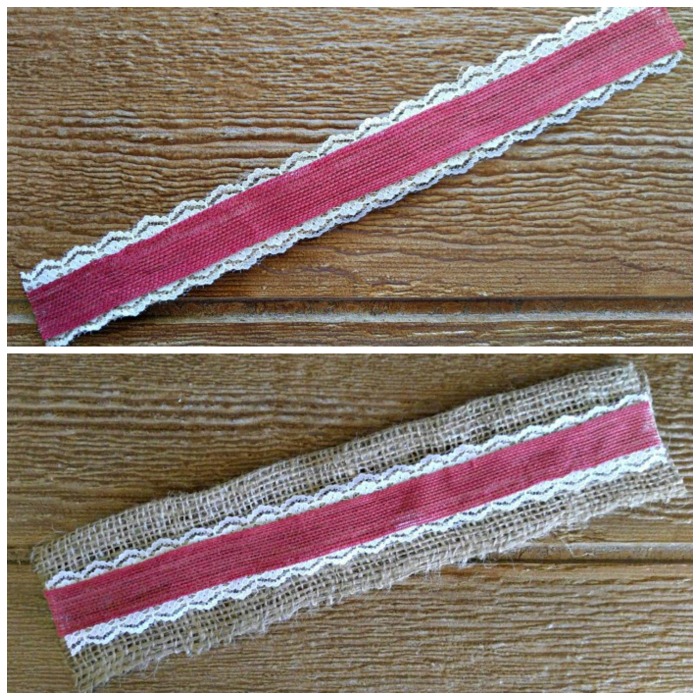
Measure around your cans to see the length that you will need for the burlap ribbons. Cut them to size and wrap one can with the burgundy and lace ribbon for decoration.
Glue the burlap in place at the back of the can with hot glue.
Add the burgundy bow in the front center of the jar with a dab of glue.
Wrap the jar with a chevron ribbon on it with a length of jute twine long enough to go around the jar and tie in a small bow on the front.
Use a few tiny dabs of glue to keep it in place nicely.![]()
![]() The burlap tea bag jars are now ready to fill with some tea bags.
The burlap tea bag jars are now ready to fill with some tea bags.
To make the jar lids, paint the wooden spool and then cut it in half. Cover the aluminum lid with the pieces of 4″ burlap material, fold it under on the back, and hot glue it in place.
Cut two pieces of the lace burlap ribbon the size of the can top and hot glue them in place on top of the covered lids, then hot glue the burgundy 1/2 wooden spool in place on each of the lids.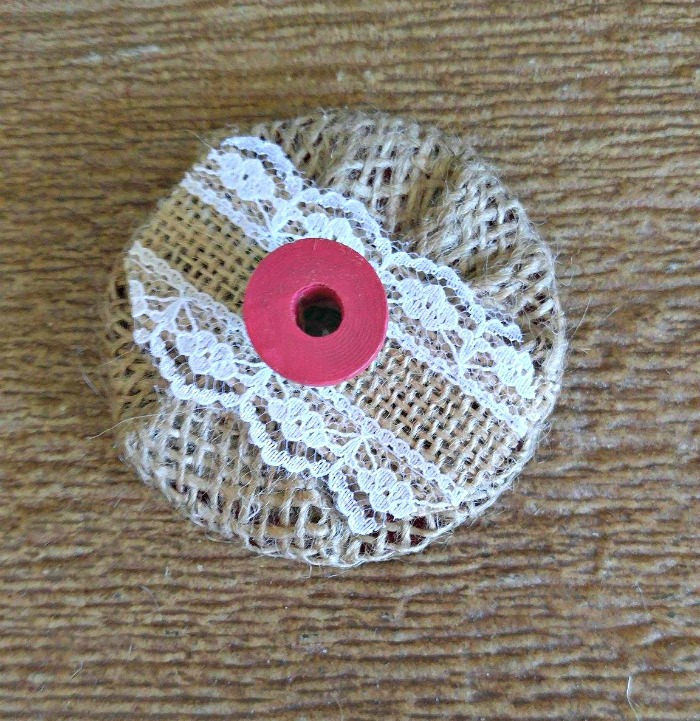
These DIY tea bag jars look so cute on the counter. They have a French country rustic look to them. Now it’s time for a cup of tea and a biscuit!.
Be sure to also check out my Sheet Music Farmhouse Tea Coasters.
Peachy
Thursday 16th of February 2017
These Burlap tea Bag jars are so cute and they're perfect for gifting to tea loving friends.
Carol
Thursday 16th of February 2017
Thanks Peachy. Glad you liked the project. Carol
adriana
Wednesday 8th of February 2017
These are just too cute! I love this - it looks like so much fun to make too! Great post!
Carol
Wednesday 8th of February 2017
Thanks Adriana. They were a lot of fun. Carol
Mimi Green
Wednesday 8th of February 2017
So what you're telling me is I need to make a tea jar. They are so cute, I'm a big tea drinker. It is my first beverage of the day, everyday.
Bonnie G
Tuesday 7th of February 2017
What a cute craft idea! I love tea and would love to make these for our kitchen.
Carol
Tuesday 7th of February 2017
Thanks Bonnie. Hope yours turn out nicely. Carol
Anosa
Monday 6th of February 2017
I guess I can do that stuff and can store my pens too :) Thanks for sharing! For the tea, was the peppermint better or both tastes good?
Carol
Monday 6th of February 2017
I liked them both but the peppermint was more to my liking. Carol