
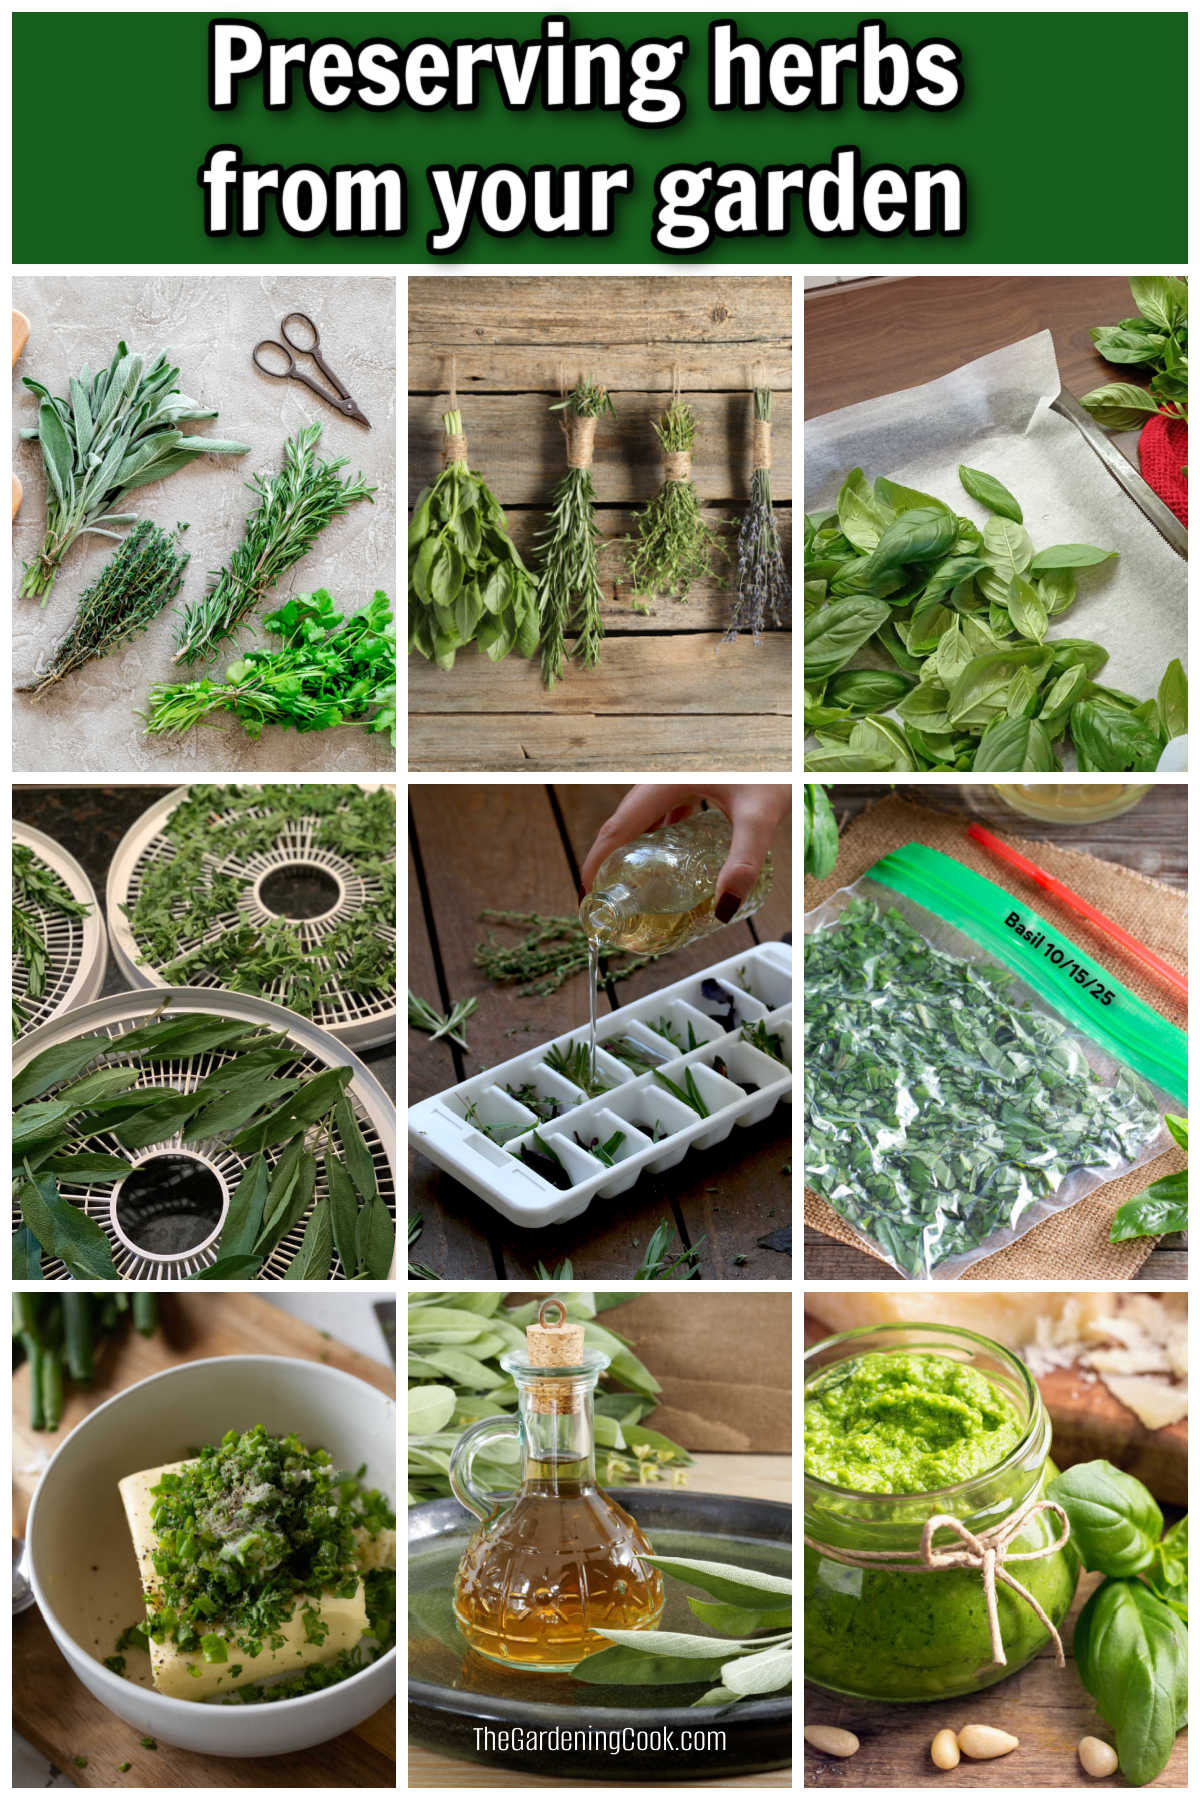
Knowing how to preserve herbs is the key to keeping your garden’s fresh flavors ready to use during the winter months. With a few simple methods, you can dry, freeze, or store herbs to use in recipes long after harvest.
The process is quick, practical, and prevents waste when frost hits.
Drying, freezing, or turning fresh herbs into herb butters all help maintain their taste and aroma. Select the preservation method that suits your cooking style and the way you intend to use the herbs later.
This guide also shows you how to store your herbs properly to lock in flavor. Use airtight containers, label them clearly, and keep them in a cool, dark place. These small steps ensure you’ll always have fresh-tasting herbs ready for any meal.
It’s easy to preserve herbs by drying and freezing them—read on for practical tips and ideas.

Some of the links below are affiliate links. I earn a small commission, at no additional cost to you, if you purchase through an affiliate link.
When and how to harvest herbs
Even though outdoor gardening is coming to an end for a few months, this does not mean that we can’t still enjoy the flavor of fresh herbs. You can do this by preserving herbs with the techniques below.
Before you start preserving herbs, you have to harvest them. This needs to be done before your first expected frost, or the leaves will die in the cold weather.
- For perennial herbs, use sharp kitchen shears to cut them at the base of the plant. The crowns will sprout again next spring.
- Annual herbs, which die after one year of growing, can be pulled right out of the pot and the leaves cut off.
Once you have harvested the herbs, wash them carefully. Pat them dry with a paper towel or allow them to air dry as you prepare for the next steps.
Now is a time to take some cuttings to root. Most herbs will root from stem cuttings. This will give you a supply of fresh herbs to use for the next couple of months, and you can then replant them in spring to grow more herbs outdoors.

How to dry herbs
The most common method of herb preservation is to dry them. The process works best with herbs that do not have a high moisture content, such as oregano, rosemary, thyme, bay, and dill.
There are several benefits of drying herbs compared to freezing and other preservation methods:
- Dried herbs have a long shelf life when stored properly compared to frozen herbs and herb butters.
- They do not need refrigeration.
- Dried herbs take up less room than frozen herbs.
- The flavor of herbs intensifies when you dry them.
There are two basic methods of drying herbs: air drying and oven drying. There are also special herb drying racks that you can purchase to allow you to dry herbs over screens on a flat surface.

Air drying herbs
Hanging herbs to dry is one of the easiest and most reliable ways to dry herbs. The process requires minimal tools and keeps the flavors concentrated.
- Harvest the herbs early in the day. Remove any diseased leaves, wash the herbs, and pat them dry. (Moisture causes mold).
- Remove the lower leaves and tie 4-5 stems of herbs into a bundle with some twine. Hang the bundles upside down in a warm, dry room with good air circulation, such as a pantry or attic.
- Most herbs take 1-3 weeks to air dry. The leaves will feel crisp, and the herbs will crumble easily between your fingers when they are fully dried.
- Strip the dried leaves from the stems and store them in airtight containers away from light and heat. Label the jars with the herb name and date.
Alternative to tying the herbs: Place them in a paper bag and hang the whole bag upside down in a dry room with good air circulation.

Oven drying herbs
For a quicker method of drying herbs, oven-drying is a good option. This method works well if you live in a humid climate, where air-drying herbs is a challenge.
This is how to oven-dry herbs:
- Harvest, rinse, and dry the herbs with a towel.
- Preheat the oven to 140–170°F (60–75°C).
- Arrange the fresh herbs on a baking sheet lined with parchment paper.
- Place the baking sheet in the oven. Leave the door slightly ajar to allow moisture to escape.
- Check the herbs every 15-20 minutes. Most herbs take 30-60 minutes to dry, depending on the type and thickness of the leaves.
- When done, the leaves will crumble easily.
- Remove the baking sheet, and cool the herbs thoroughly.
- Strip the stems from the leaves and store the dried herbs in airtight containers away from light and heat. Label with herb name and date.
Both air-dried and oven-dried herbs will keep for up to a year.

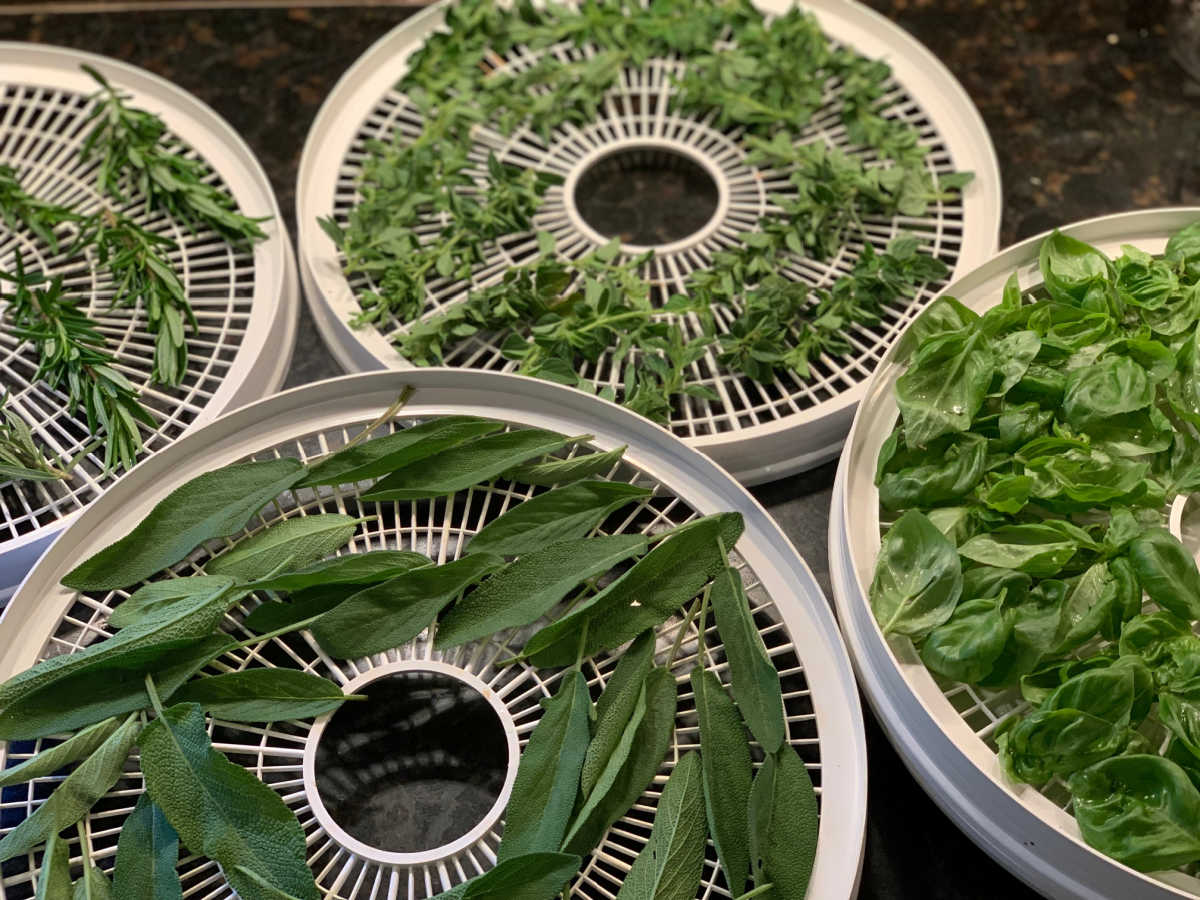
Drying herbs in a dehydrator
Using a food dehydrator is another fast way to dry herbs. It works for both delicate and hardy herbs and allows precise control over the temperature.
This method is especially useful when you need to dry large batches of herbs.
- Harvest healthy herbs. Rinse and pat dry.
- Arrange the herbs in a single layer on dehydrator trays. Avoid overlapping so that the air circulates evenly.
- Choose a low heat setting, typically 95–115°F (35–45°C) for delicate leafy herbs. Hardier herbs such as rosemary or thyme can take slightly higher temperatures.
- Dry until the herbs are crisp. Most herbs take 1-4 hours, depending on type, moisture content, and size of the leaves. They are done when the leaves crumble easily between your fingers.
- Strip the leaves from the stems. Store the dried herbs in airtight containers in a cool, dark place. Label the jars with the names of the herb and the date.
How to freeze herbs
Freezing herbs is a fast and easy way to preserve their flavor. This method doesn’t need any special equipment. Freezing works for both delicate herbs and hearty herbs.
There are two ways to do this: freeze whole or chopped herbs, or combine the herbs with oil or butter.
Freezing whole or chopped herbs
- Wash the herbs and pat them completely dry. Remove any damaged leaves or tough stems.
- Place whole leaves, or chopped leaves, in airtight freezer bags or containers. Remove as much air as possible.
- Label with the name of the herb and the date.
- Place in the freezer. They can be frozen for 6-12 months.
When it’s time to use the frozen herbs, cut off a section with kitchen shears and add the herbs to your recipes.

Freezing herbs in oil or butter
This method adds additional flavor to the herbs.
- Wash the herbs and pat them completely dry. Remove damaged leaves and tough stems.
- Chop the herbs.
- Place about a tablespoon of chopped herbs in the sections of large silicone ice cube trays.
- Add olive oil or melted butter over the top of the herbs.
- Freeze the trays, then transfer the cubes of frozen herbs into individual freezer bags.
- Label with the name of the herb and the date. They will keep for 6-12 months.
When it is time to cook, use a labeled herb and oil cube and add it to a frying pan to cook with your vegetables and meat for fresh flavoring.

Preserving herbs as recipe ingredients
A flavorful way of preserving herbs is to make them into prepared recipes. Instead of storing dried or frozen herbs, you can incorporate them into items such as herb butters, pestos, infused oils, or vinegars.
These recipes lock in the flavor in ready-to-use portions for cooking.
Making herb butter
Making a herb butter is similar to making garlic butter for later use.
- Mix 1 part chopped herbs with 2 parts softened butter.
- Form the butter into logs and freeze. You can also cut it into individual portions before freezing.
- Slice off what you need for cooking, spreading, or finishing dishes.
This method works well with parsley, chives, dill, and basil.

Preserve herbs in pesto sauces
Pesto is super easy to make and can be used as a spread on crostini for an easy appetizer, as a sauce for fish. It is also delicious mixed with pasta for a change from a normal marinara sauce. It works well with basil, cilantro, and parsley.
Here is how to make it:
- Place 1 cup of fresh basil with 3 cloves of garlic, 2 tablespoons of pine nuts, and 1/3 cup of Parmesan cheese into a food processor.
- Add salt and pepper to taste and drizzle in 1/3 cup of olive oil. Pulse until smooth.
- Freeze in ice cube trays for small, ready-to-use portions.
Pesto can be stored in the fridge for a week, and will keep, when frozen, for up to a year.

Make herb vinegar
Herb vinegar can be used in sauces and marinades in much the same way that normal vinegar can. It’s easy to make and is a great way to use the end-of-season herbs so that you don’t have to waste them. This method works well with thyme, tarragon, rosemary, basil, dill, sage, and chives.
- Use a mild vinegar such as white wine, rice vinegar, or apple cider vinegar. Avoid strong, distilled vinegar, which can overpower the herbs.
- Rinse the herbs and dry them completely.
- Add one cup of fresh herbs to two cups of vinegar in a clean glass jar or bottle.
- Seal the container and store it in a cool, dark place for 2-3 weeks.
- Shake the jar every few days to infuse the flavor of the herbs evenly.
- Strain the herbs using a sieve and some cheesecloth.
- Pour the herb vinegar into sterilized bottles. Label with the name and date.
- Store the bottle in a cool cupboard.
- Use these herb infusions to dress salads, to drizzle on roasted vegetables. or to marinate chicken or fish.
Herb vinegar will keep for 4-6 months.

Share this post about preserving herbs on X
If you enjoyed learning how to preserve herbs, be sure to share this guide with a friend. Here is a post to get you started:
🌱 Preserve your garden herbs to use during the winter! From drying to freezing to herb butter, here’s how to lock in flavor — no matter the season. 🍃🧊 Learn more about preserving fresh herbs on The Gardening Cook.#HerbPreserving… Share on XHow to use preserved herbs in recipes
Now that you know how to preserve garden herbs, here are some easy recipes to help you put them to good use in everyday cooking.
- Ginger soy sauce marinade with chives – a fresh, tangy, and delicious way to dress salads.
- Spice rub mix – takes just minutes to make and is great on steaks, roasts, and more.
- Baked barramundi recipe – the basil pesto sauce adds a ton of flavor.
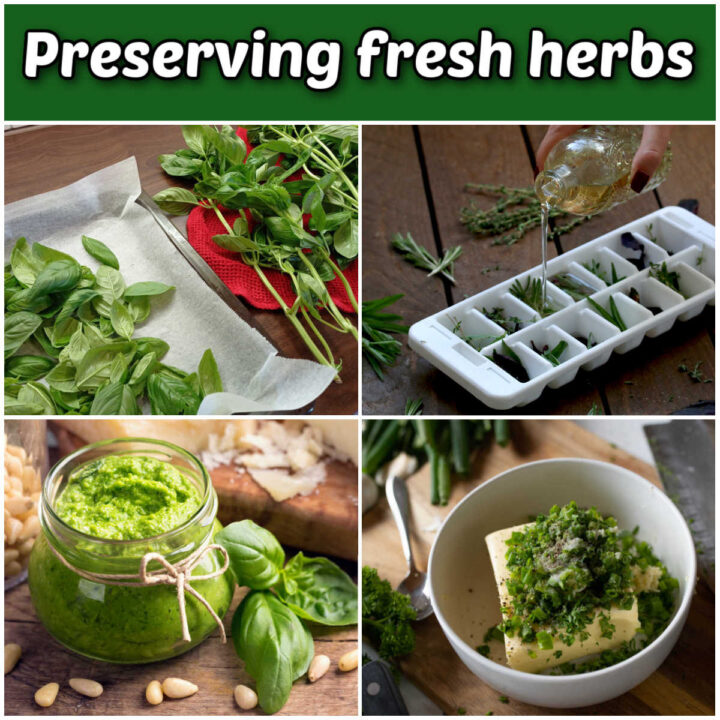
Pin this post for preserving fresh herbs
Would you like a reminder of this post on how to freeze and dry fresh herbs when the cold weather hits? Pin this image to one of your gardening boards on Pinterest so that you can easily find it later.
Admin note: This article for freezing and drying fresh herbs first appeared on the blog in January 2013. This post has been updated with new photos, a printable project card, and a slideshow video about how to preserve herbs.
How to Preserve Herbs for Long Lasting Flavor
Learn how to preserve fresh herbs by drying, freezing, or infusing them into recipes like herb butters, pestos, and infused vinegars. These simple methods keep your herb's flavor ready to use for cooking all year long.
Materials
- Fresh herbs (basil, rosemary, oregano, thyme, mint, etc.)
- Olive oil, butter, or vinegar (optional)
- Labels and markers
Tools
- Kitchen shears or scissors
- Baking sheet or dehydrator
- Ice cube trays
- Glass jars or airtight containers
- Twine
Instructions
Step 1: Harvest and prepare the herbs
- Choose healthy, mature leaves.
- Rinse lightly and pat dry completely. Remove damaged leaves and woody stems.
Step 2: Choose a preservation method
- Air-dry: Tie small bunches, hang in a warm, dry, ventilated area out of direct sunlight.
- Oven-dry: Spread bunches of leaves on parchment-lined baking sheets. Bake 140–170°F (60–75°C), checking every 15–20 minutes until the leaves are crisp.
- Dehydrator: Arrange in single layers, set temperature 95–115°F (35–45°C), for leafy herbs, dry 1–4 hours.
- Freeze: Chop or leave whole, place in freezer bags or ice cube trays with water, melted butter, or oil.
Step 3: Make Herb Recipes (Optional)
- Blend herbs into pestos, herb butters, or infuse into vinegar or oils.
- Portion and store in labeled containers for easy use.
Step 4: Store Properly
- Dried herbs: Airtight jars, cool, dark place.
- Frozen herbs: Airtight freezer bags or containers, labeled with date.
- Infused oils or vinegars: Glass jars or bottles, stored in fridge or cool, dark cupboard.
Step 5: Use Your Preserved Herbs
- Add directly to soups, sauces, marinades, or recipes.
- No thawing needed for frozen herbs in cooked dishes.
Recommended Products
As an Amazon Associate and member of other affiliate programs, I earn from qualifying purchases.
-
 Herb Saver for Refrigerator, Herb Saver Pod Cilantro Containers for Refrigerator, Fresh Herb Keeper Keeps Greens Vegetables for 2-3 Weeks
 -
 Herb Drying Rack with Mesh Design, Hanging Drying Rack with Green Zipper & Garden Pruning Shears – Versatile Plant Drying Solution (6 Layers)
 -
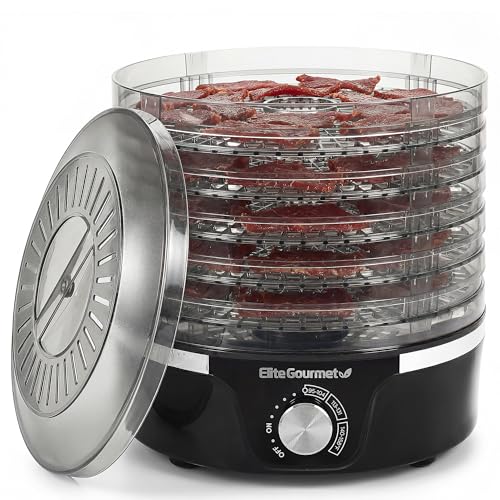 Food Dehydrator, 5 BPA-Free 11.4" Trays Adjustable Temperature Controls, Jerky, Herbs, Fruit, Veggies, Dried Snacks, Black
victoria loftis
Monday 1st of June 2020
I found it hard to remove the oil and herbs from the cell.
Phil
Friday 4th of April 2014
You can also remove the leaves and place on a paper towel in the microwave and dry them in there. I do that every summer with some of my Basil.