
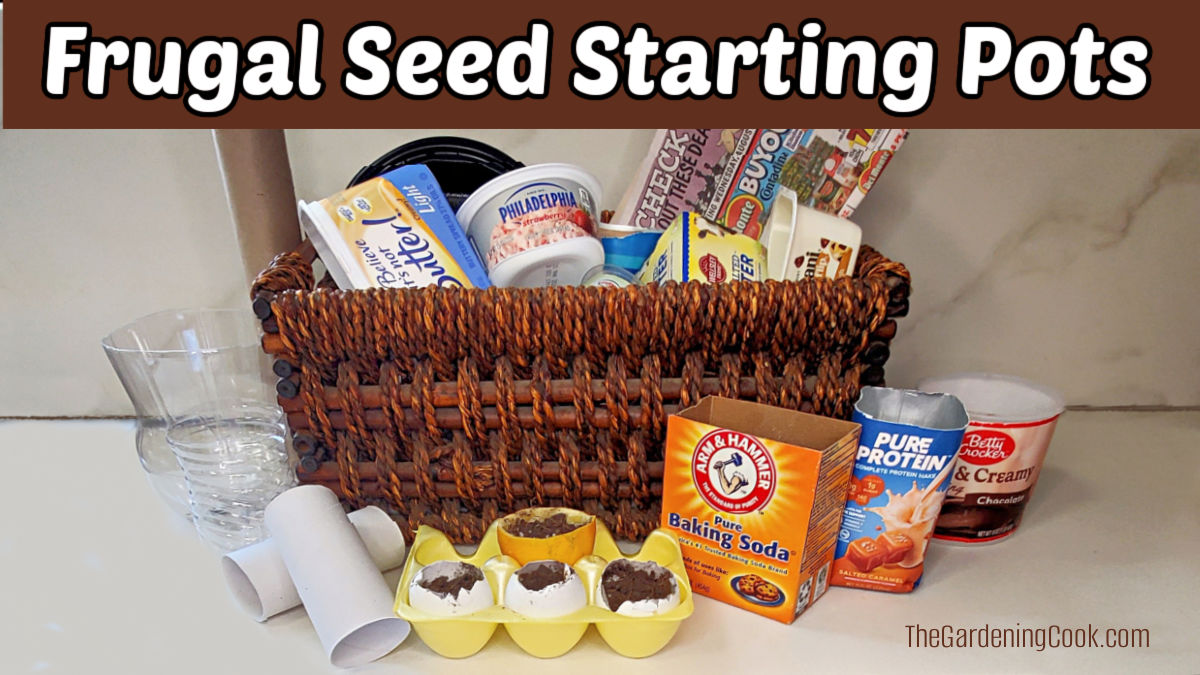
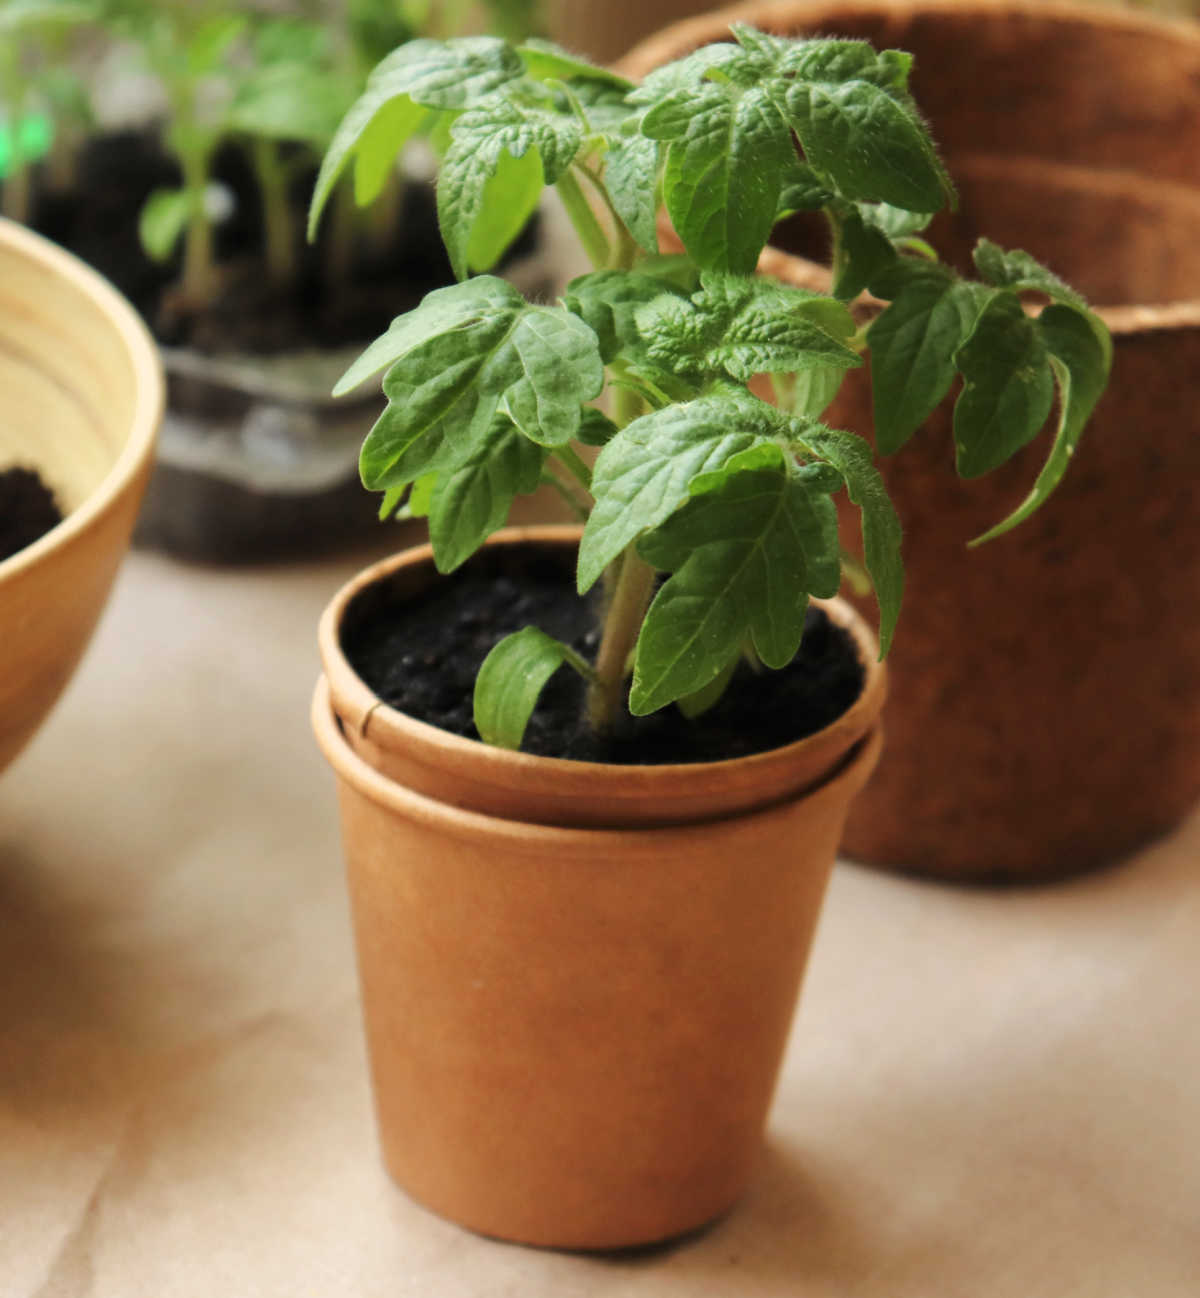
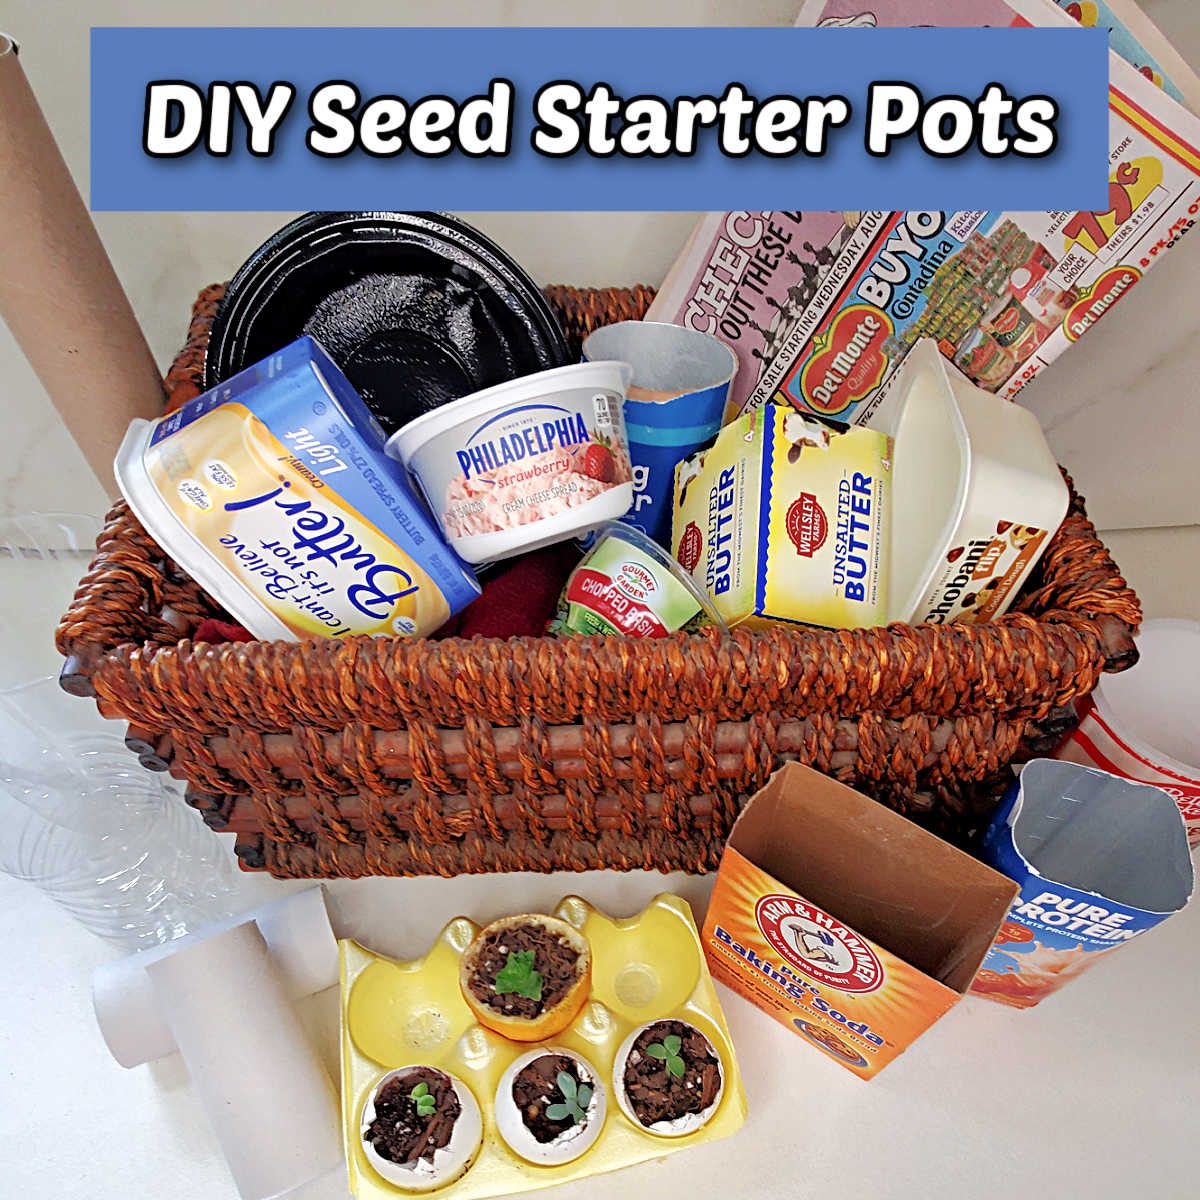
Recycling common household items into seed starter pots is an easy way to save money and reduce waste in the garden. Below, you’ll find 17 items from around your home that can be turned into seed-starting pots for free.
Now is the time to start seeds indoors to prepare your garden for spring. The good news is that you don’t need to buy expensive starter pots for seeds to begin your garden. From egg cartons to toilet paper tubes, many everyday household items make excellent plant starting pots.
Several of these items are biodegradable, which means you can plant them directly into the ground without disturbing plant roots.
Some of the links below are affiliate links. I earn a small commission, at no additional cost to you, if you purchase through an affiliate link.
Biodegradable seed starting pots
If you have a large garden or a significant collection of indoor plants, purchasing small pots for every flower or vegetable seed you want to grow can become expensive quickly.
That’s where starting seeds at home can save you a lot of money. You don’t need to spend on dozens of commercial seed starter pots, peat pots, or trays. Sometimes, all it takes is a look in your recycling bin.
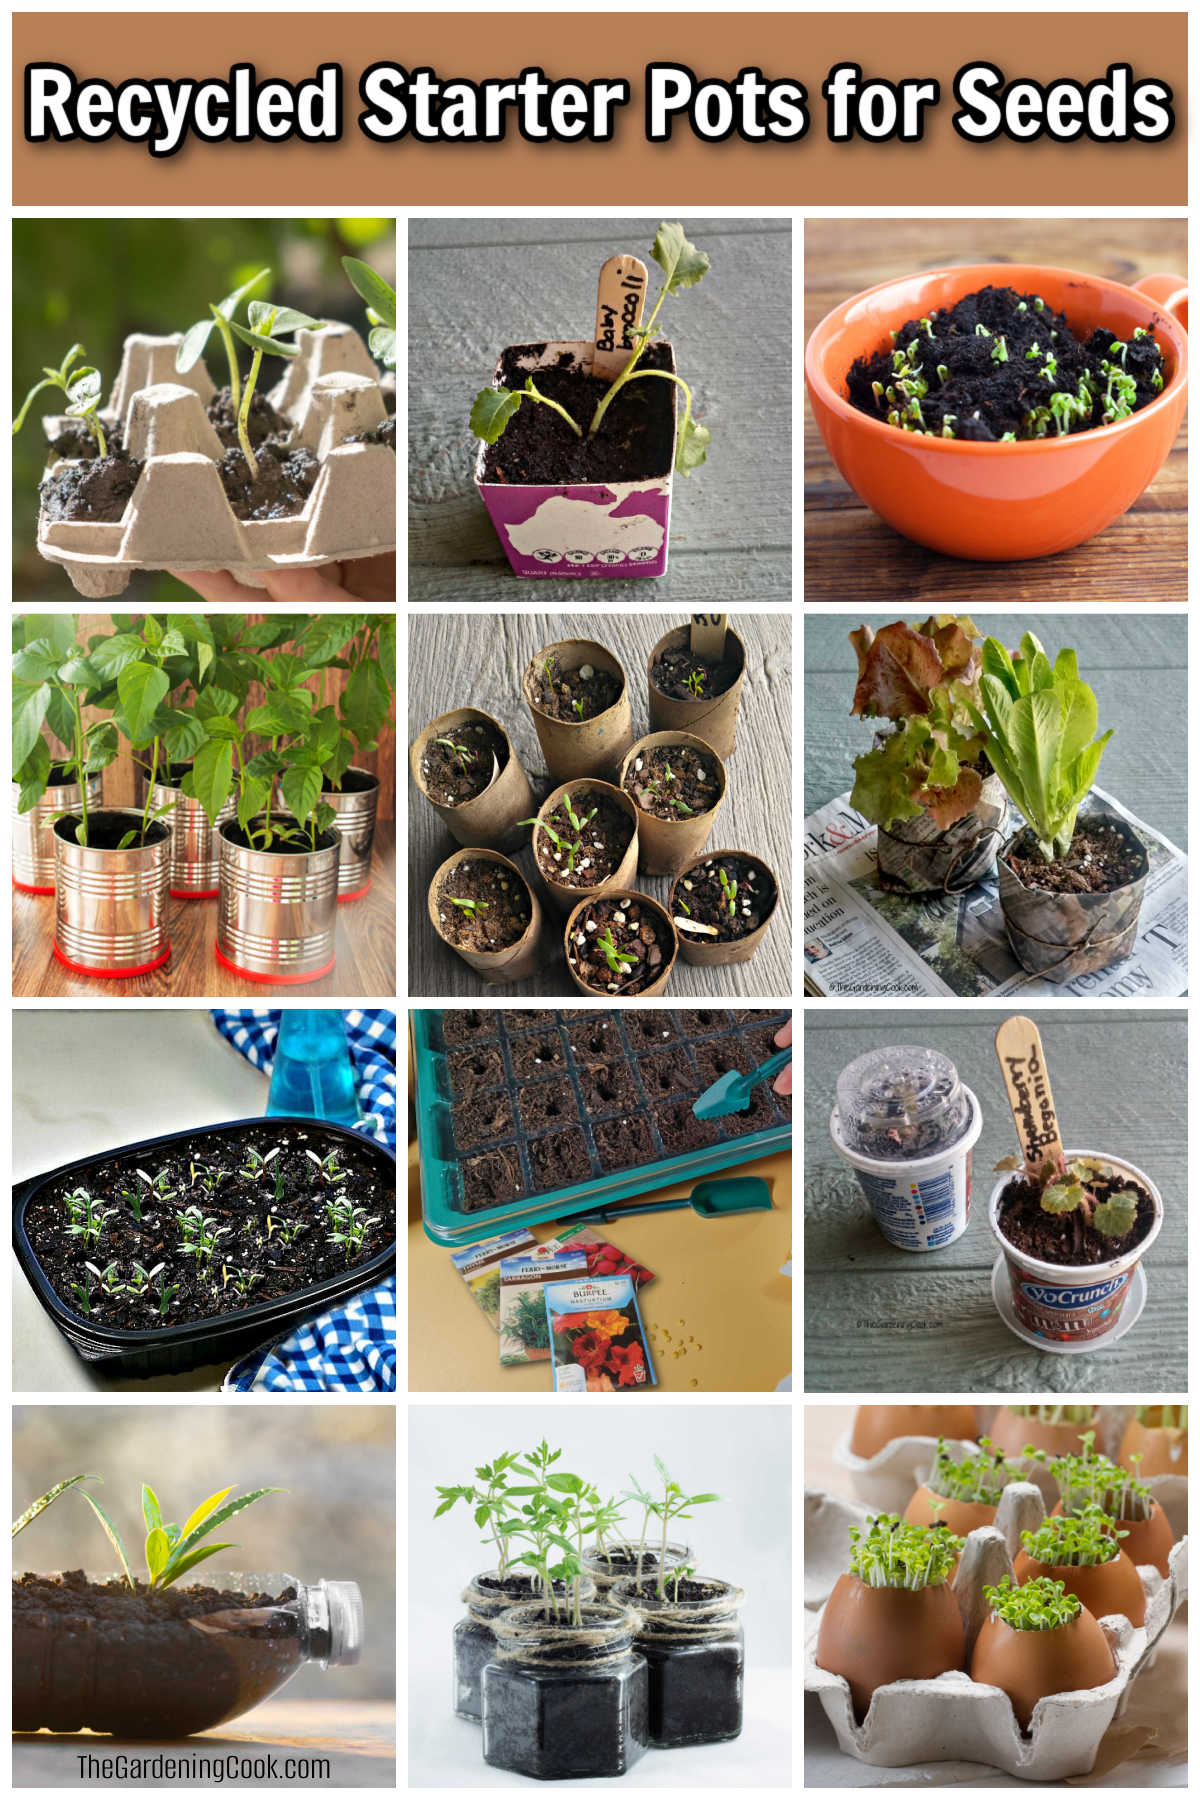
Biodegradable items of the right size, such as paper egg cartons, citrus rinds, eggshells, and toilet paper rolls, can all be transformed into effective seed starting containers. What might look like a pile of junk can actually become a full set of frugal, functional planting pots.
Gather your seeds, prep your seed starting soil, and get planting the inexpensive way! Here’s a list of my favorite biodegradable seed starter pots and containers that won’t break the bank.
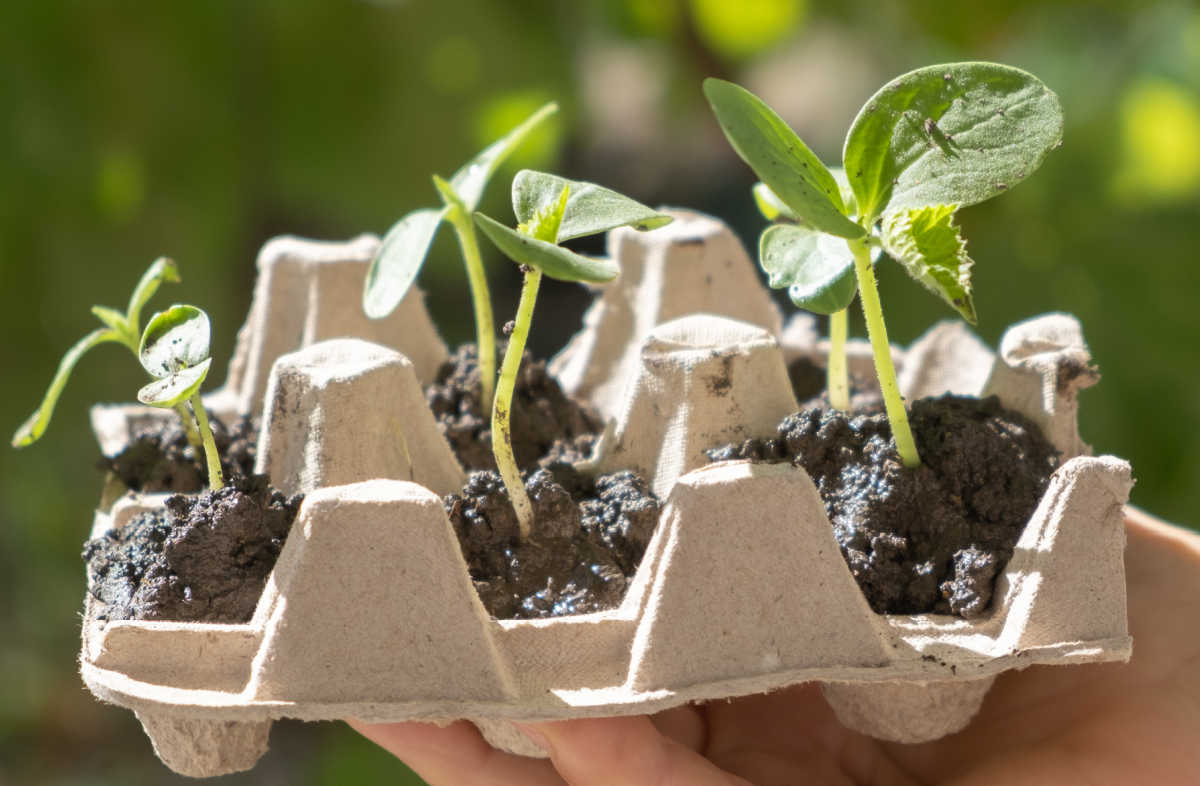
Egg carton seed starters
- Starting seeds in eggshells is a fun way to start small seeds. Your kids will love to watch the seeds grow!
- The paper egg cartons can be planted right into the ground.
- Cut the bottom off at planting time to allow the roots to grow into the soil.
- The paper will degrade slowly and feed the soil and earthworms.
Pro tip: If you use plastic egg cartons, plant just the seedlings, not the carton sections, since these are not biodegradable.
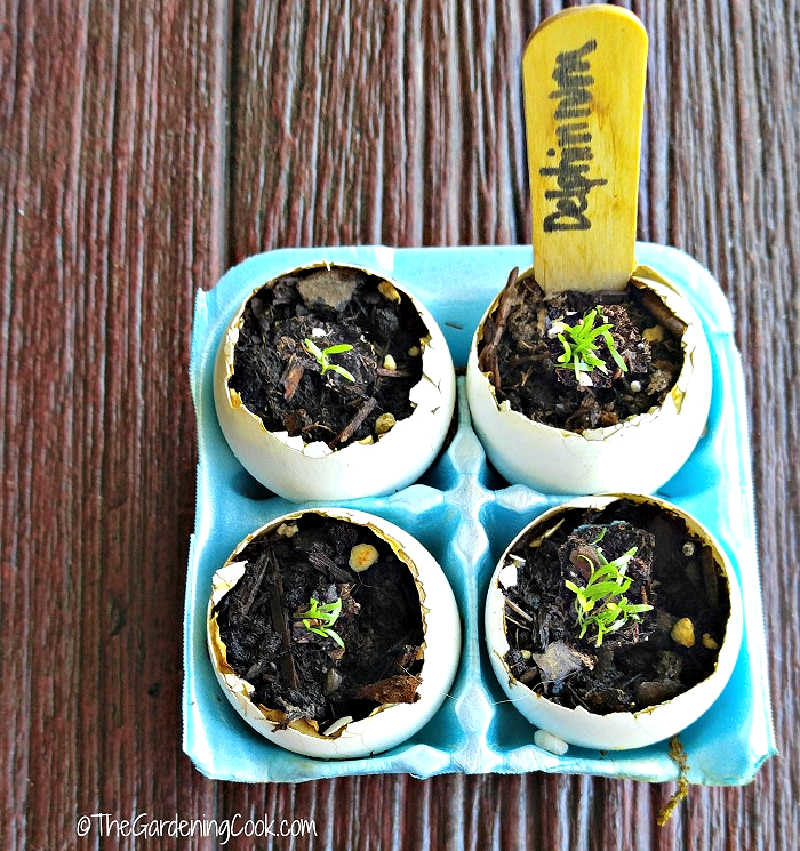
Eggshell seed starters
- Rinse and dry the shells to prevent mold.
- Poke a small drainage hole in the bottom of the shell.
- Plant one seed per shell.
- At planting time, crush the eggshell around the root ball and plant the entire shell.
Pro tip: A used egg carton makes a perfect holder for the mini seed pots.

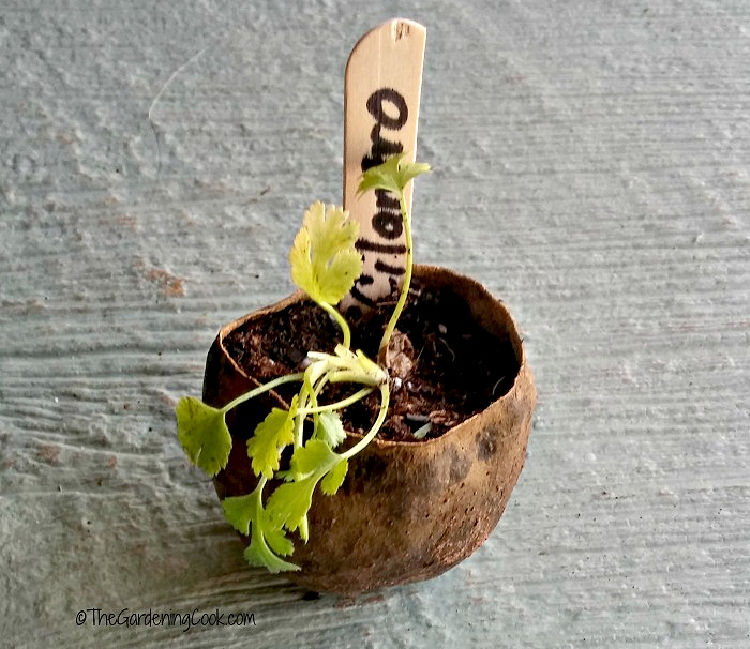
Turn citrus rinds into starter pots for seeds
- Cut off about 1/3 of the top of an orange, lemon, or grapefruit.
- Use a serrated grapefruit spoon with a curved edge to remove the fruit and membranes.
- Wash and dry the rind to prevent mold.
- Poke a few drainage holes and fill the rind with seed-starting soil.
- Plant small seeds, and water well.
- At planting time, cut off the bottom of the rind and plant the rind and small seedling.

Fold a newspaper to make seed starter containers
- Fold the newspaper into the shape of a small plant pot.
- Wrap it around the bottom of a glass.
- Tie it with jute and let it dry.
- Add your favorite seeds.
- At planting time, cut away the bottom and plant the entire pot.
Pro tip: Check out this post to see a step by step tutorial for folding the newspaper pots.

Toilet paper rolls used as DIY seed starter pots
- You can make these pots with toilet paper rolls, paper towel rolls, and gift wrapping rolls (only paper rolls).
- Cut the longer rolls to size. Toilet paper rolls are fine as they are.
- Make six slits about 3/4″ long on the bottom edge of the roll.
- Tuck the piece of roll around each other in a circular fashion.
- Fasten with tape.
- Add seeds and water until they grow into seedlings.
- At planting time, unfold the bottom and plant the whole roll.
See my tutorial to make the cardboard tube seed pots here.
Using paper cups as small pots for seedlings
- Poke holes for drainage in the bottom.
- Fill biodegradable paper cups with soil.
- Add seeds and water well.
- Cut the bottom of the cup off at planting time and plant in soil.
Avocado shells make biodegradable seed starter pots
- Cut one avocado in half to make two small pots.
- Scoop out the flesh and remove the seed.
- Wash and dry the shell to prevent mold.
- Poke holes for drainage on the bottom.
- Add soil with 2 or 3 seeds. Thin to the strongest seeds as they grow.
- Cut the bottom at planting time and plant the avocado.
Other recycled seed starter pots (non-biodegradable)
The sky is the limit for household items to recycle into homemade seed starter pots. While these items will not decompose, they are the perfect size and are free.
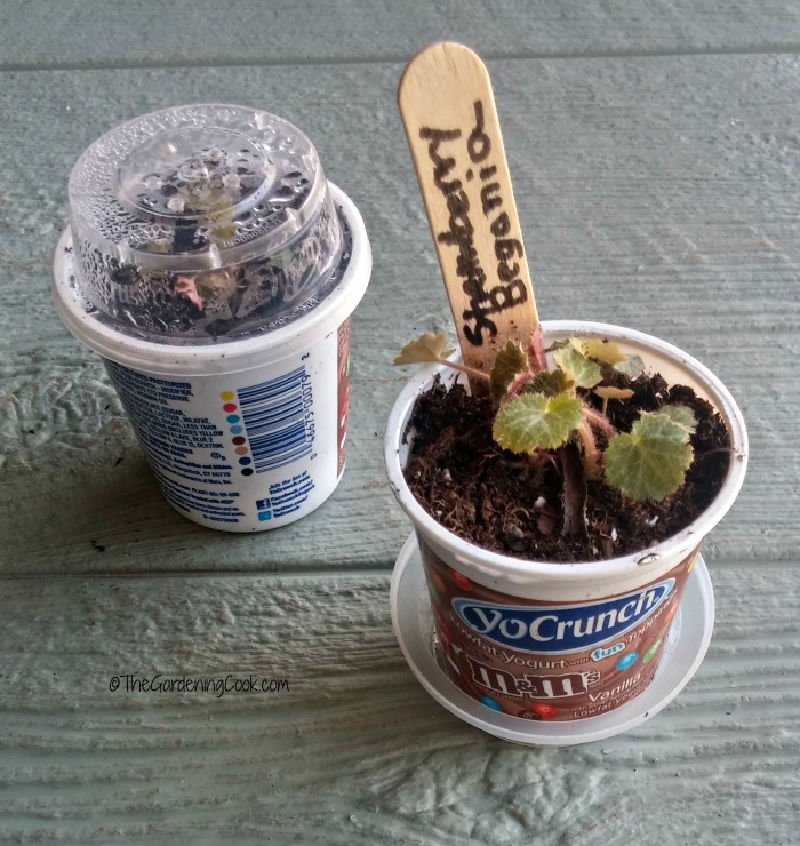
Yogurt containers make perfect small seed containers
- Individual-sized yogurt containers are the perfect size for frugal seed starting pots.
- The containers that have a clear plastic domed top, such as these YoCrunch containers with M&Ms, add humidity to your seedling, too.
- Be sure to poke holes in the bottom of the container before you add the soil for drainage.
Use Jello cups and mini seed pots
- Individual-sized Jello and pudding cups are the perfect size for small seeds.
- They hold about as much soil as the black seedling holders from a garden center.
- Poke some holes in the bottom and fill with soil.
- Add a few seeds and thin to the strongest when they start growing.
- At planting time, remove the pot and plant the root ball and seedling in the garden.
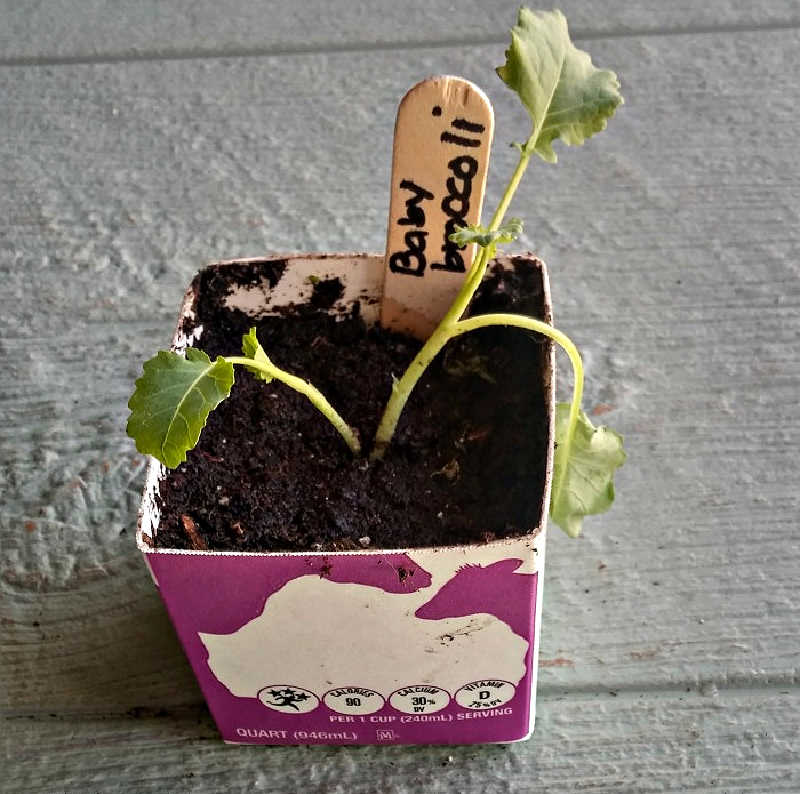
Milk carton seed starting pots
- Cut the milk carton in half.
- Rinse, dry and add drainage holes.
- This size works for starting larger seeds such as broccoli or cabbage.
- Their plastic coating won’t weep when you water, but the container must be removed before planting outdoors in the soil.
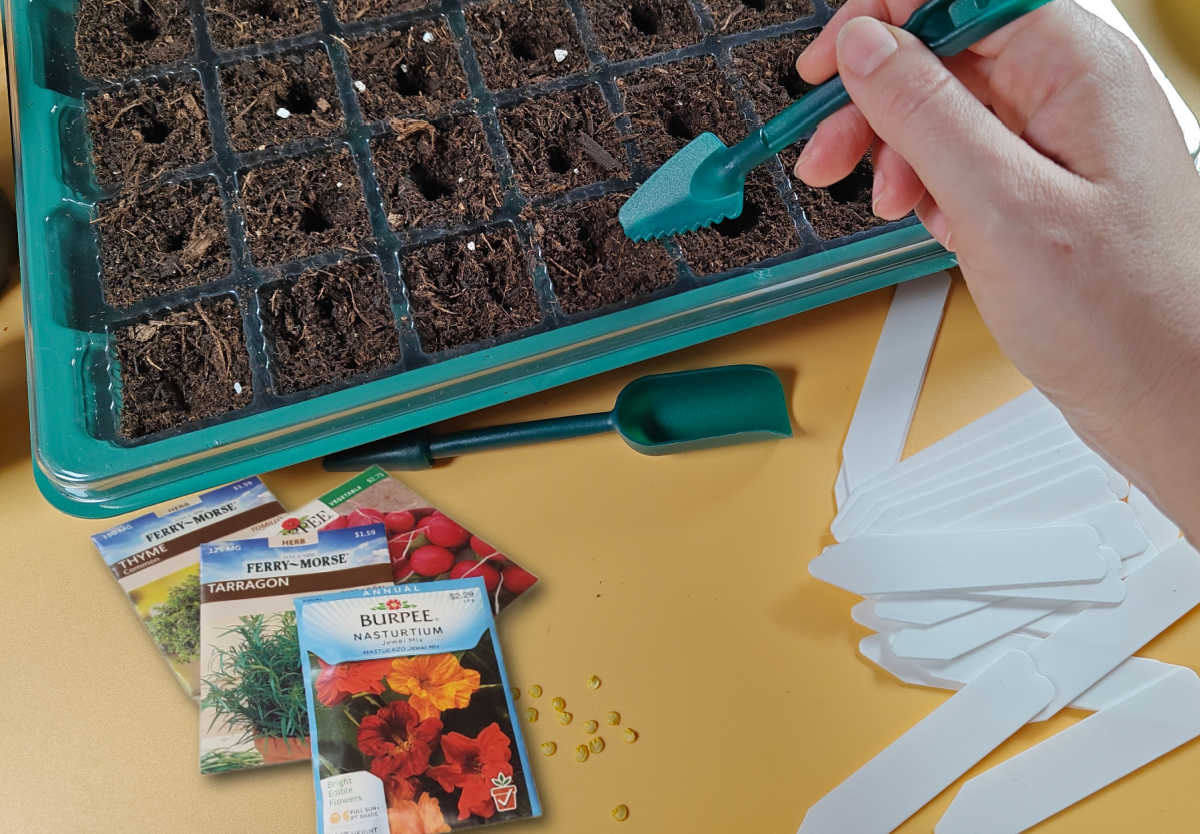
Recycled multi-compartment trays
If you buy seedlings from retail stores, be sure to save the multi-compartment trays after planting seedlings in the garden. They are the perfect is size to start seeds.
- Wash and dry the trays.
- Fill with new soil and add seeds.
- At planting time, remove the root ball and plant the seedling.
Rotisserie chicken DIY seed starting trays
- Rinse and dry the rotisserie chicken tray thoroughly.
- Poke holes, or add pebbles in the bottom for drainage.
- You can grow many seeds in one container.
- The container top helps the container act as a terrarium, holding in humidity.
- Check out my tutorial for this rotisserie chicken seed starter container.
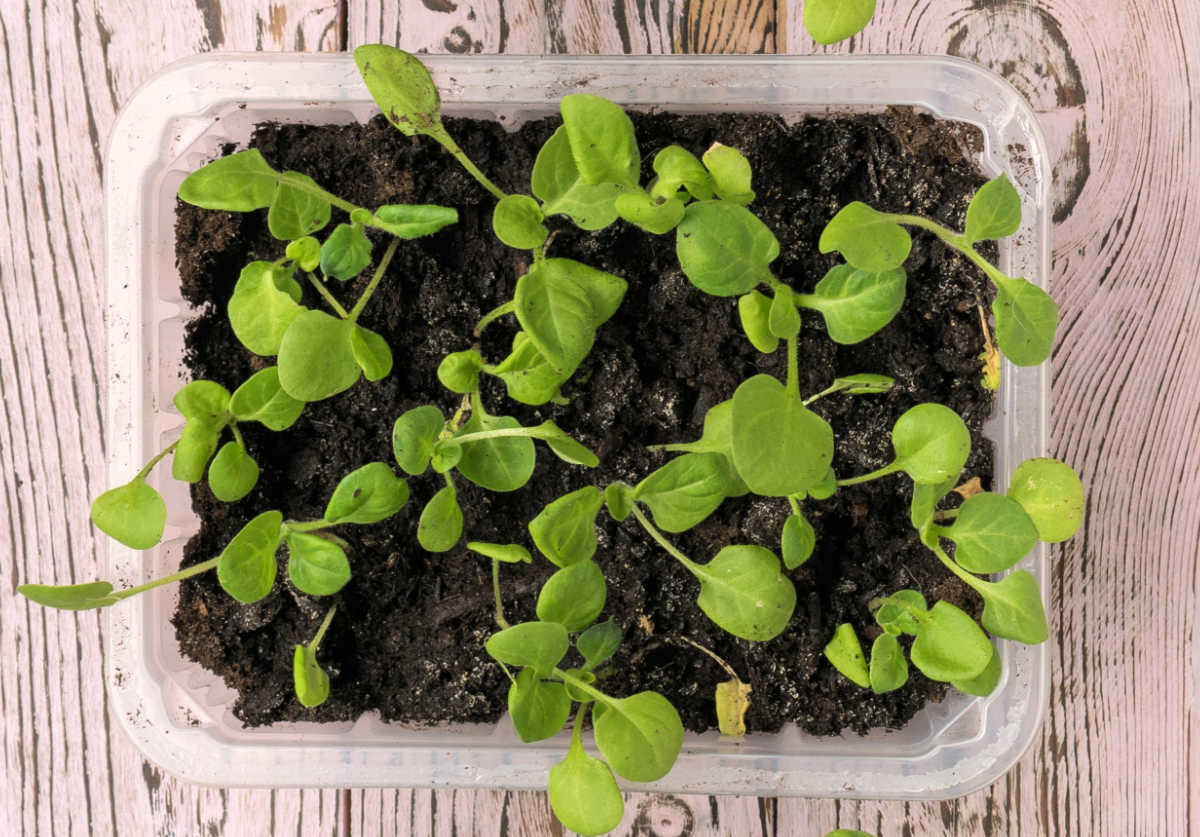
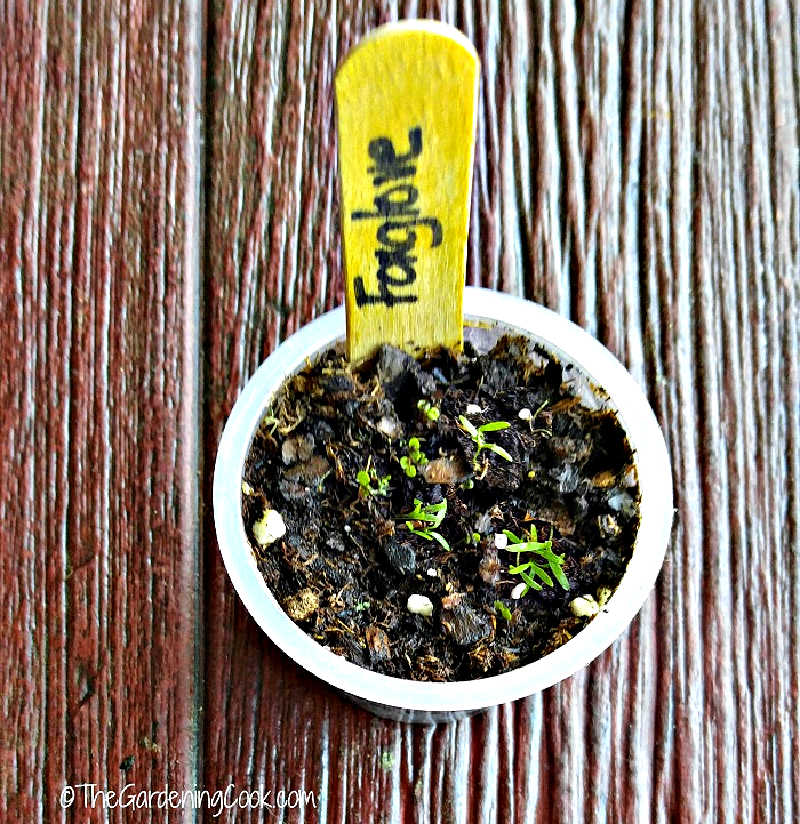
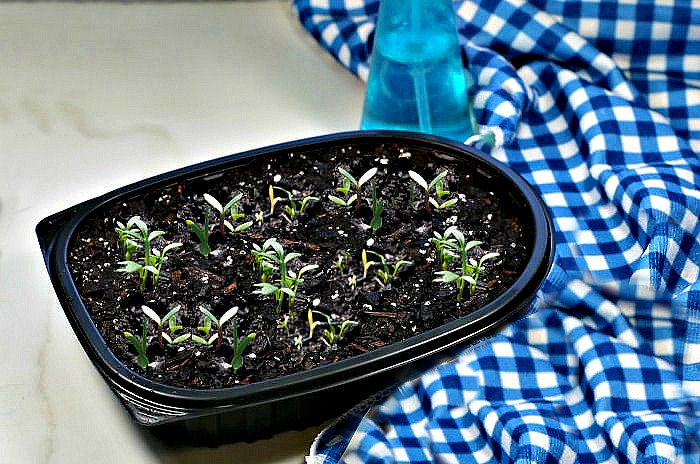
Using frozen meal containers as DIY seedling trays
- Poke holes in the bottom for drainage.
- Plastic trays make great seed starter trays
- Add a thin layer of soil in each compartment.
- Plant multiple seeds and thin to the strongest.
- Use a fork to pick out at planting time.
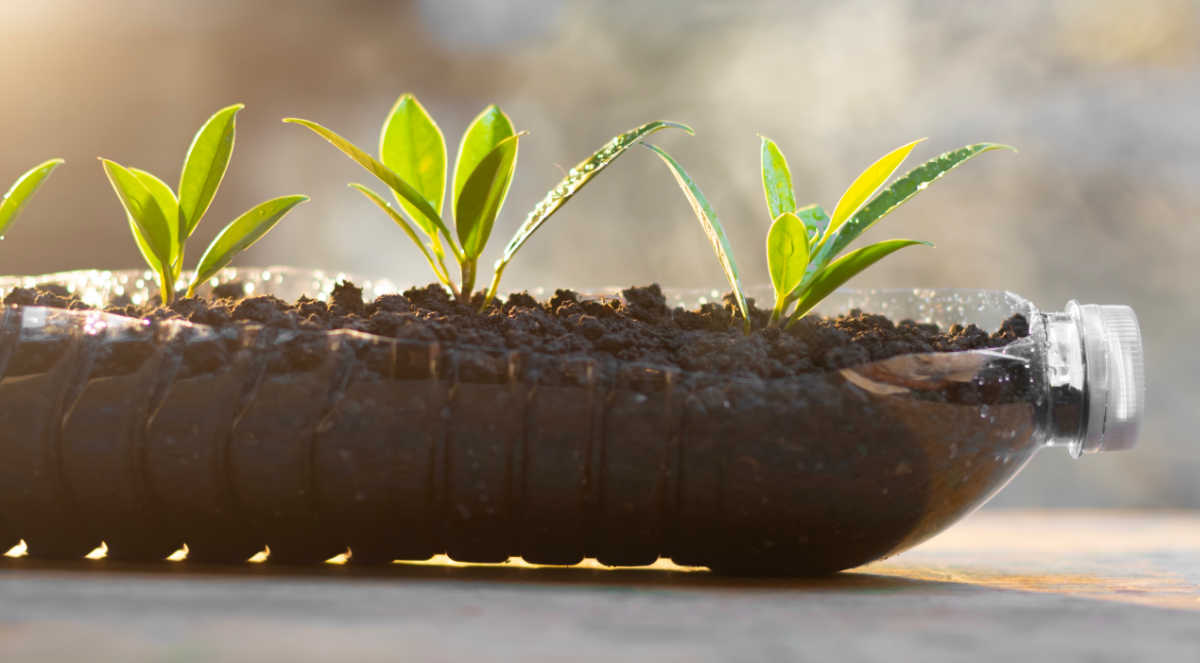
Soda bottles cut in half
- What a fun decorative idea! Cut the bottle in half lengthwise.
- Poke holes in the bottom and fill with soil.
- Add seeds in a row. Thin to the strongest.
- Pick out seedlings when they are bigger and plant them in the garden
Pro tip: You can also cut the bottle the other way in half and use the top over the seeds to act as a mini greenhouse.
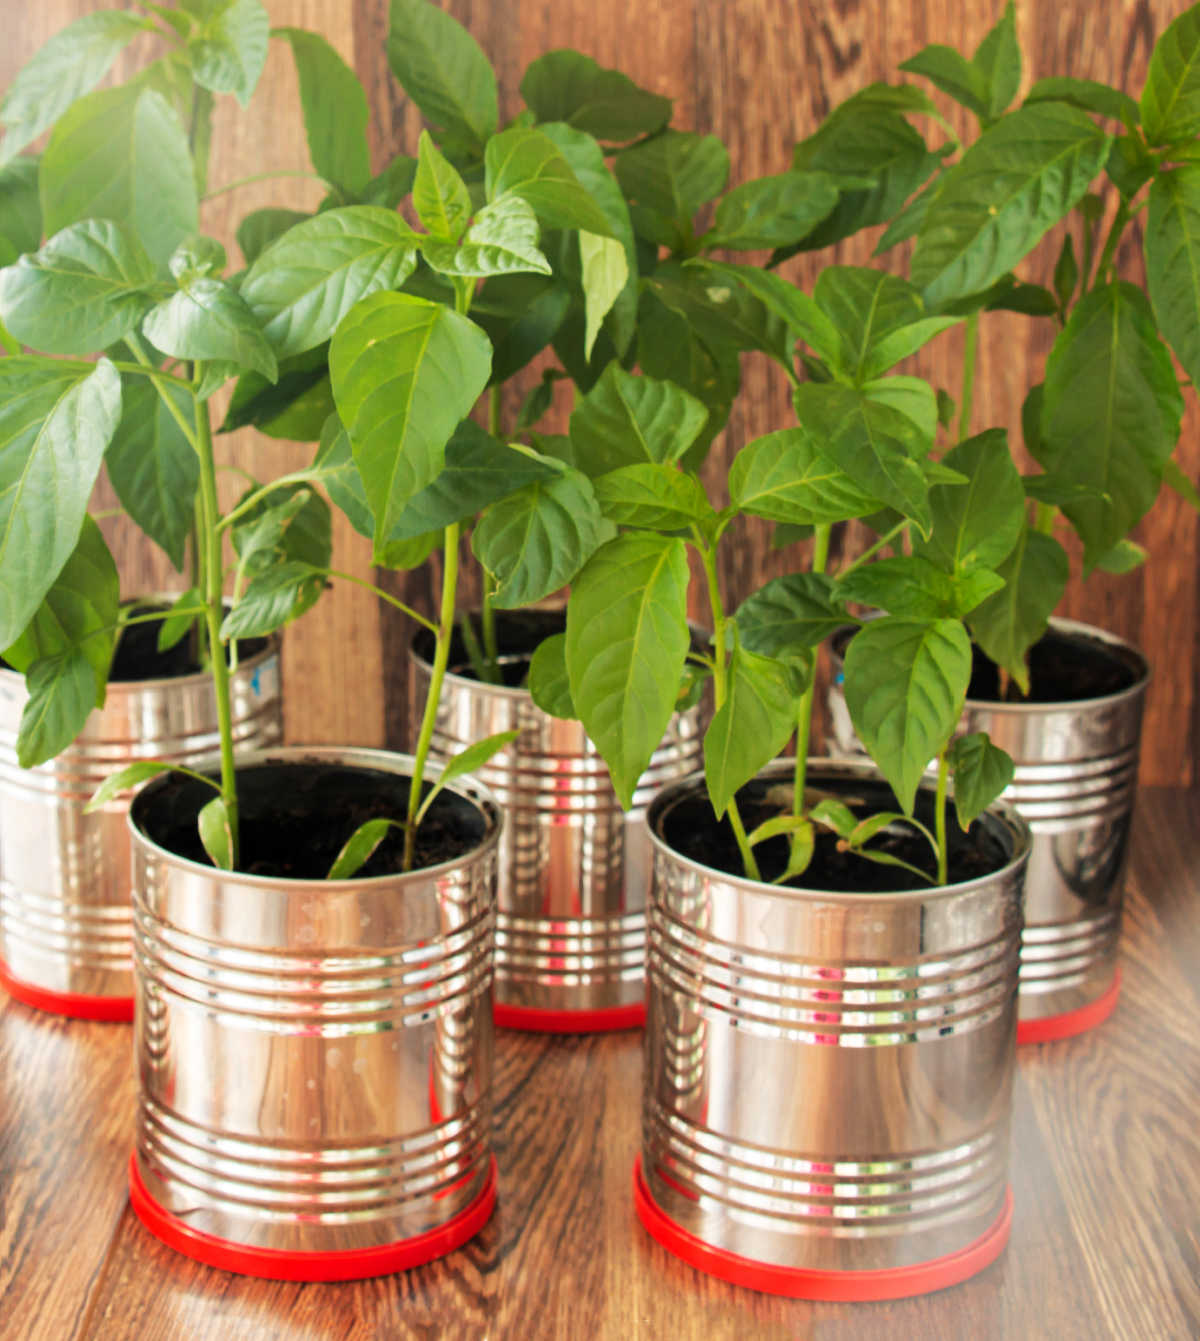
Repurpose tin cans for large seeds
- Wash and dry the cans.
- Punch holes in the bottom, or add a layer of gravel for drainage.
- Depending on the size of the can, you can plant many seeds.
- Thin to the strongest.
- Larger tin cans are ideal for big seedlings such as tomatoes or peppers until planting time outdoors.
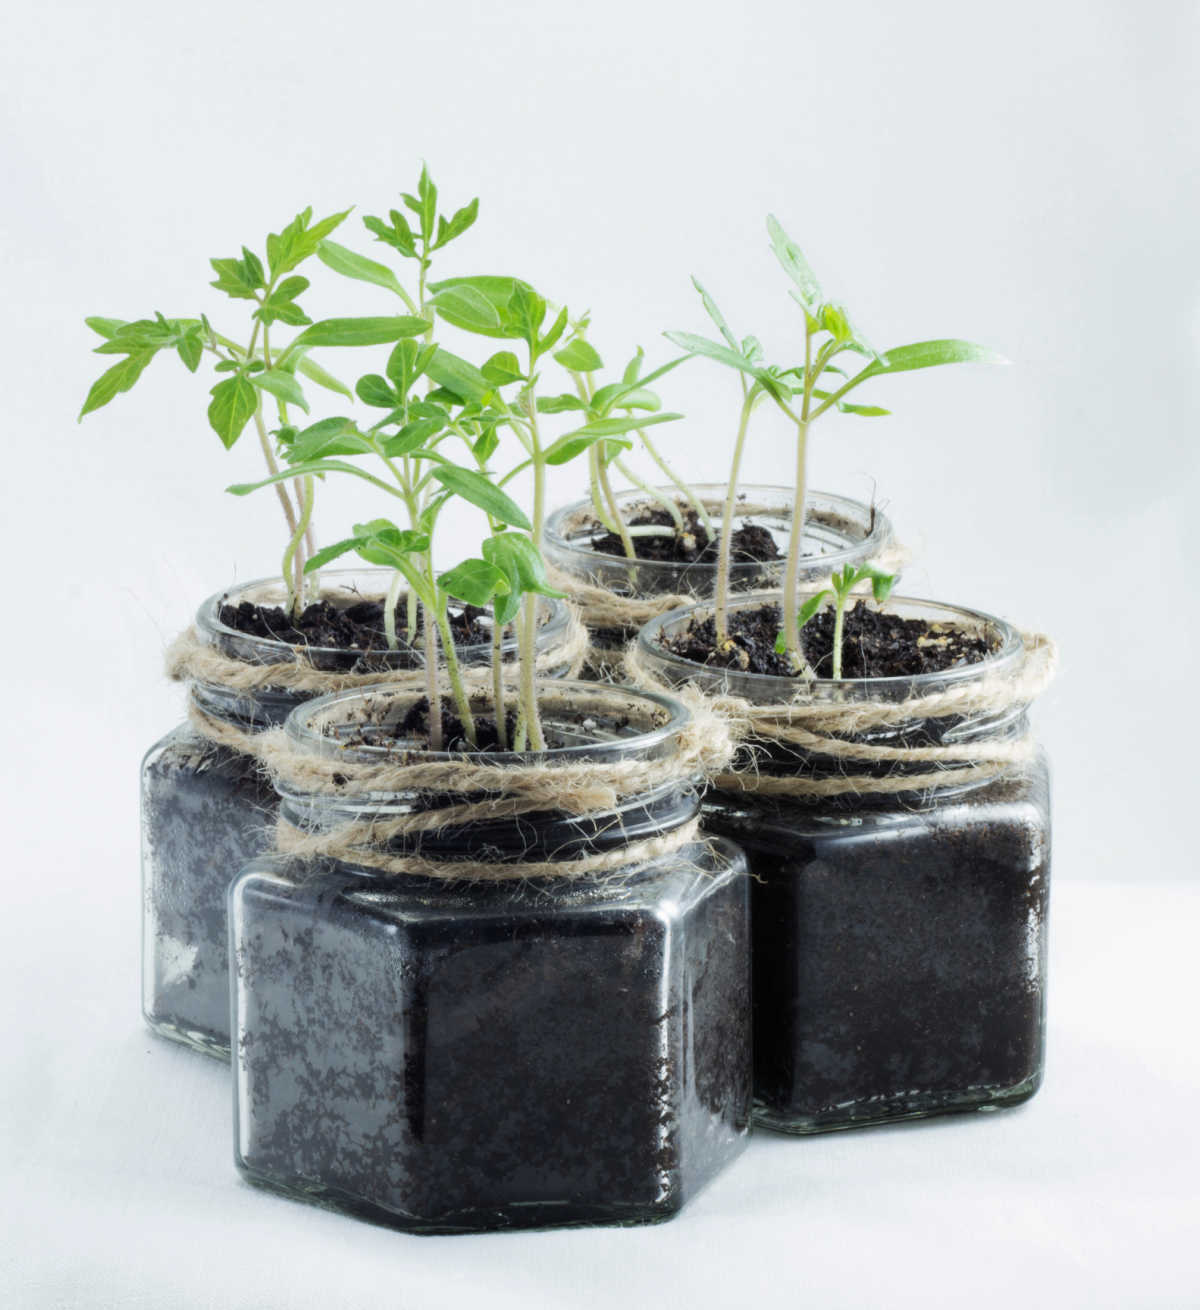
Glass jars to start seeds indoors
- Ideal for indoor seedlings.
- Ensure proper drainage with a layer of pebbles at the bottom of the jar.
Old tea cups make great containers for starting seeds
- Perfect for small herb seedlings.
- Larger tea cups hold multiple seedlings.
- A decorative reuse of old cups.
More seed starting ideas
If you are starting seeds for spring, you’ll be interested in these posts, too.
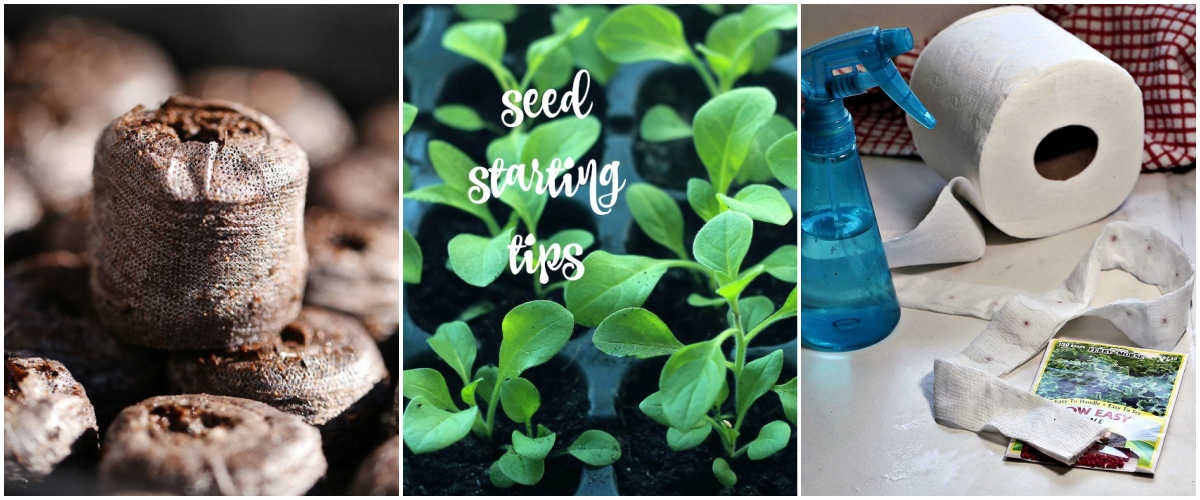
- Starting Seeds Indoors with Jiffy Peat Pellets – How to grow seeds in peat pots
- 20 Seed Starting Tips – When to sow – How to transplant + a free printable
- Make Your Own Seed Tape – How to make homemade seed tapes from toilet paper
Share these frugal seed starter pot ideas on X
If you enjoyed learning what to recycle for seed starter pots, why not share these ideas with a friend?
Discover 17 frugal seed starter pots you can make from everyday household items — from egg cartons and citrus rinds to yogurt cups and soda bottles. ♻️ Start your garden the inexpensive way! 🌼🌿#SeedStarting #GardeningTips… Share on XPin these ideas for homemade seed starter pots
Would you like a reminder of these ideas for seed starting containers? Pin this image to one of your gardening boards on Pinterest so that you can easily find it later.
Admin note: This article for recycled seed starter containers first appeared on the blog in March 2016. This post has been updated with new photos, a PDF printable, and a slideshow video of DIY seed starting pots.

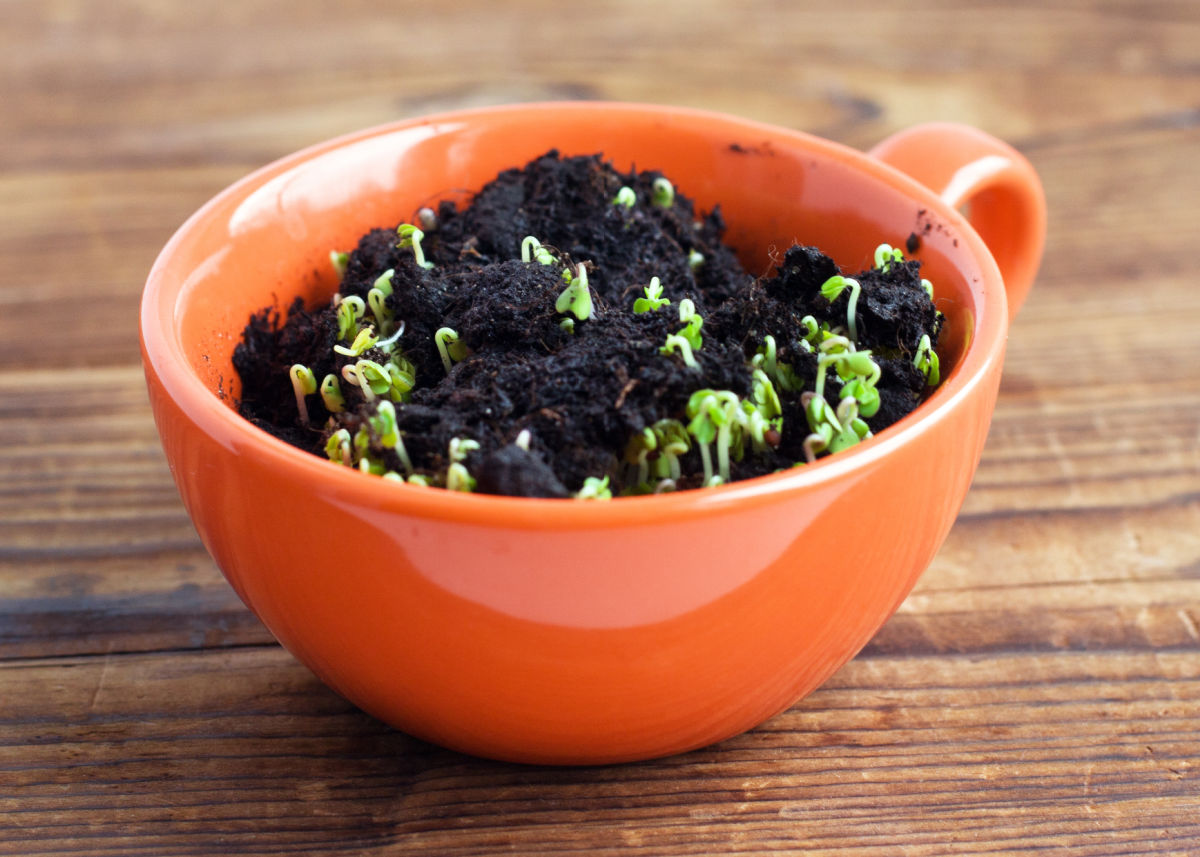
DIY seed starting mix
Once you’ve chosen your seed starter containers, the next step is to fill them with a good seed starting mix. A light, well-draining soil helps seeds to germinate faster and prevents damping off. I make my own DIY blend with just three ingredients. It works perfectly for starting seeds indoors.
Use the project card below to make the seed starting blend to use in your recycled containers.
Make Your Own Seed Starting Mix
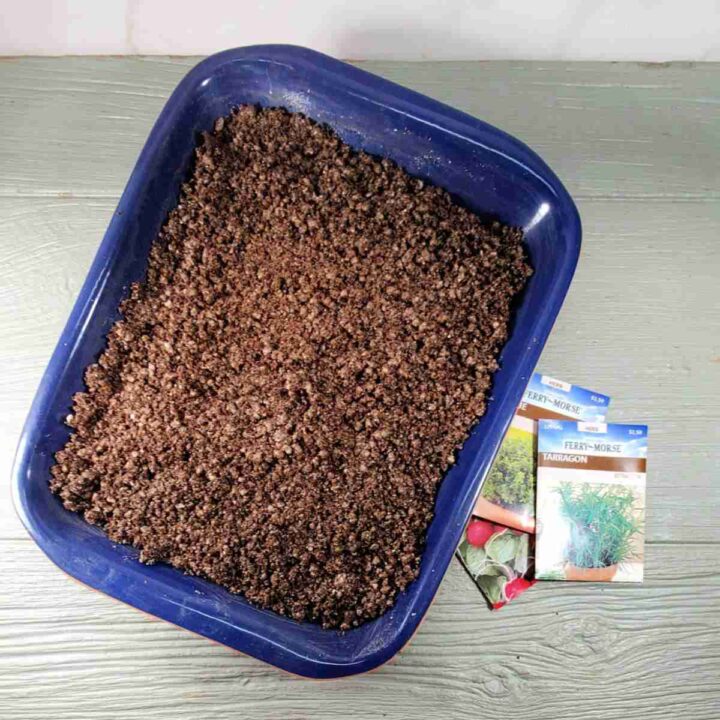
A good quality seed starting mix should be light and airy with good water retention should nurture root development.
Normal potting soil is enriched and too harsh for seeds. Luckily, a soilless mix is easy to prepare.
Materials
- I cup of sphagnum peat moss
- 1 cup of vermiculite
- 1 cup of perlite
- About 1/3 cup of water (should be moist but not dripping wet.)
- Seeds of your choice
Tools
- Bowl
- Heat Mat (optional)
Instructions
- This recipe uses equal parts of each ingredient. I made 3 cups using 1 cup each of peat moss, vermiculite and perlite.
- You can make more, just use equal amounts of each.
- Add enough water to moisten the mix but not have it dripping wet.
- Mix the ingredients well making sure to break up any clumps and incorporate all of the ingredients.
- Place in small seedling trays or a seed tray.
- Add your seeds and place a thin layer of the mixture over the seeds.
- A heat mat under the pots or tray will hasten root development but is not necessary.
Notes
If you want to transplant the seeds into pots before planting outdoors, use an enriched soilless potting mix. Combine these amounts, as directed above.
- 4 parts sphagnum peat moss
- 2 parts compost
- 1 part vermiculite
- 1 part perlite
Recommended Products
As an Amazon Associate and member of other affiliate programs, I earn from qualifying purchases.
-
 200 Cells Seed Starter Tray, 20 Pcs Biodegradable Plant Starter Peat Pots(Including T-Type Labels & Starter Tools)– Eco-Friendly
 -
 BN-LINK Durable Seedling Heat Mat Warm Hydroponic Heating Pad Waterproof 10" x 20.75" for Seed Starting
 -
 HOME GROWN 27,500+ Heirloom Vegetable & Fruits | 55 Variety Garden seeds
Mark
Wednesday 11th of August 2021
Hello! This is my first time planting seeds and this article really helps me a lot. Thanks!
Ahmad al-tarifi
Thursday 15th of February 2018
I love all these organic methods like the avocado!!
Karen
Wednesday 20th of April 2016
Love these areas, especially the use of things that would normally be tossed in the garbage
Rogan Craig
Tuesday 19th of April 2016
Found your article interesting as I use most of the items already, with the exception of citrus and milk cartons. I bought several small sauce containers and use them as starters for small seeds, with vermiculite as the 'soil'. I also use a cakebox (opaque base and transparent sides and top) as a mini greenhouse. It has a raised ridge on the base and when I slot the top in, I have a reasonably airtight greenhouse.
Carol
Wednesday 20th of April 2016
Thanks Rogan. I like your idea of the mini greenhouse.
Linda at Mixed Kreations
Wednesday 13th of April 2016
These are all great ideas Carol! This year is the first year that I started my own seeds in a long time. The hubby bought me a little greenhouse. To buy plants they are soooo expensive now. I remember paying around 29 cents for a tomato plant and there was usually 2-4 tomatoes in the little pot. Now their close to $4 a single plant. This year I bought the 6 pack plant starter pots, but next year I will have to try some of these. Thank!
Carol
Wednesday 13th of April 2016
Hi Linda. I am finding that the big box stores don't even carry the small seedlings any more. They let them grow to get more for each one. Carol