
This DIY Yard Sale Shepherds hook make over is my latest project and adds a nice touch to my new seating area.
I love to go to antique fairs, yard sales and flea markets. There is something really special about finding old things to re purpose or to add to a collection of vintage items.
Gardening items are often found this time of the year in abundance.
For today’s project we’ll be transforming a plain Jane shepherd’s hook to a much more colorful addition to my garden.

This DIY yard sale Shepherds Hook Make Over Adds Color and Pizazz!
My favorite part is the price of course, I love to garden on a budget. There are so many ways to do this:
- Craig’s list is a great source of plants this time of the year at super cheap prices.
- Dividing overgrown plants gives you more plants for free.
- Planting seeds is super inexpensive
- Taking cuttings of existing plants gives you more plants for baskets (for free!)
- Re purposing old items with some color, like this project, gives them a new lease on life.
Last year, I found these sale shepherds hooks last year for a couple of dollars. They have been sitting in my back yard since then, waiting for some inspiration.
That inspiration came this week, when I decided to make over one of my front garden beds that was worse for wear.
 This Yard Sale Shepherd’s Hook had a great flower accent but it needed some color and TLC!

This post may contain affiliate links. I earn a small commission, at no extra cost to you if you purchase through an affiliate link.
Supplies for the shepherds hook make over
To redo these shepherd’s hooks, I used a few basic supplies. True to my budget nature, I did not have to buy them, I just chose supplies I had on hand, but as luck would have it the colors I had were perfect for my project. Here is your supply list:
- Rustoleum Satin Lagoon Spray Paint
- Rustoleum Sunrise Red Spray Paint
- Craftsmart yellow acrylic paint
- Craftsmart purple acrylic paint
- Sponge paint brush
- Small paint brush[ for touch up
- Latex glove
I started by setting up a spray paint area. Of course, with my luck, the day was windy.
I did not think to put on rubber gloves and the back spray from the wind covered the hand that was holding the spray paint in sunrise red paint! (not to self, go in and get out some latex gloves!
 I sprayed the Shepherd’s hooks well with the Sunrise red. The Rustoleum is a good choice because it protects from both rust and the weather.
The hooks were in pretty decent shape, so I did not sand them first. (Many thanks to the yard sale lady for cleaning them up first!)
Next I sprayed the flower of the larger hook with the Satin lagoon color. I used the sponge brush after doing this to touch up the over spray. (I didn’t worry too much about the over spray just yet.
I’ll be adding more color and I’ll finish any over spray at the end.) My husband is going to love me when he sees the grass though. LOL
I left them to dry for about an hour. Since it was so windy outside, 1/2 hour probably would have been fine but I wanted to make sure my surface was very dry when I attempted the flower.
I just left them both sitting outside in the sun and came in and starting writing up the project. (have I mentioned how much I love blogging?)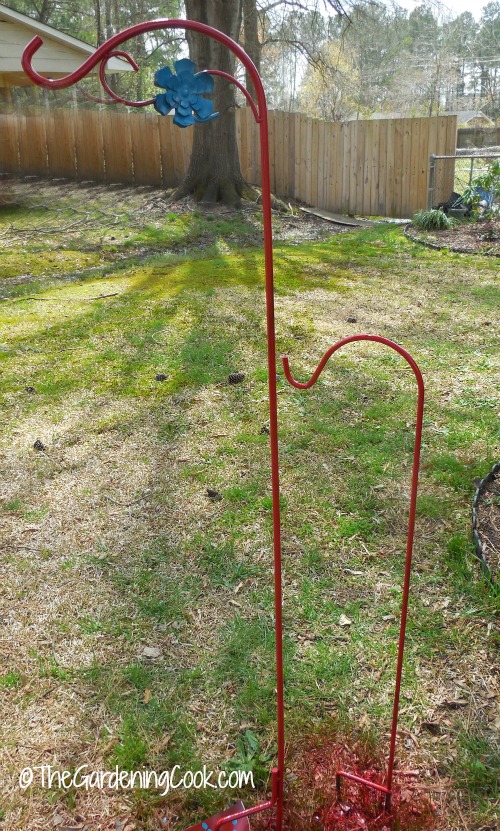 Now I needed something to hold my paints for the touch up. I don’t ever bother with a palette. I just cut a sturdy piece of cardboard in a circle and then cut a hole it in. It works perfectly to hold small blobs of paint.
Best of all, no clean up. Just throw it away when done and cut a new one when you need it! (Ashleigh approves!)
Next, I added the purple and yellow to the flower for some extra detail and let the whole thing dry for another hour. Then retouched the flower again.
This was not an easy feat. Mainly because I am inpatient. The shepherd’s hooks was not firmly in the ground but still a bit tacky but I wanted to get going on the flower.
It was an exercise that felt like I was painting on a rowboat. Hint…put your shepherd’s hook firmly in the ground, or wait until the whole thing is completely dry and lay it on a table to do the detail. 
That is all there was to it. But look at the way they look in my charming seating area make over!
The spider plant graces my Flowered Shepherd’s hook, and a hummingbird feeder that my mother gave me graces the smaller one. The sunrise red color is sure to attract the hummers.
Now, I just need to go and make some hummingbird nectar and I’ll be all done and ready to enjoy my new seating area.
Don’t you just love budget make overs? What have you do to re purpose some old garden decor to give it a new leaf of life. I’d love to hear your experiences in the comments below.
Pin this shepherd’s hook makeover
Would you like a reminder of this project for transforming a shepherd’s hook? Just pin this image to one of your gardening boards on Pinterest so that you can easily find it later.

Kim
Saturday 7th of September 2024
The painted hooks look very cheap. I’m not sure why people don’t prefer them in their natural state?
Carol Speake
Thursday 12th of September 2024
It's a situation of personal taste. Some people like natural, others like color. That's what makes our world so great.
Tamara
Wednesday 27th of May 2020
Thanks for the help,my hooks look like they've seen a few thousand years of inclement weather. I was just wondering though... did the German Shepherd (in the photo section) come with the hook; or did the pupper cost extra? lol
Carol Speake
Wednesday 27th of May 2020
Smile...she's a beauty isn't she?