If you’re looking for a cool-weather root vegetable to plant in your home garden this year, try growing rutabagas. This guide will show you how to grow rutabagas from seed to harvest.
Rutabagas – also called swedes, neeps, yellow turnips, Canadian turnips, or Russian turnips – have an earthy, peppery flavor when raw, and a sweet, creamy flavor when cooked. They are a cross between a turnip and a cabbage, and are often used in place of potatoes in recipes.
If you want to grow rutabagas yourself this year, keep reading to learn tips for planting, care, pest management, harvesting, and storage. It’s easier than you might think to enjoy a successful rutabaga crop at home.
You can also download a free rutabaga care tips printable from the project card at the bottom of this post.
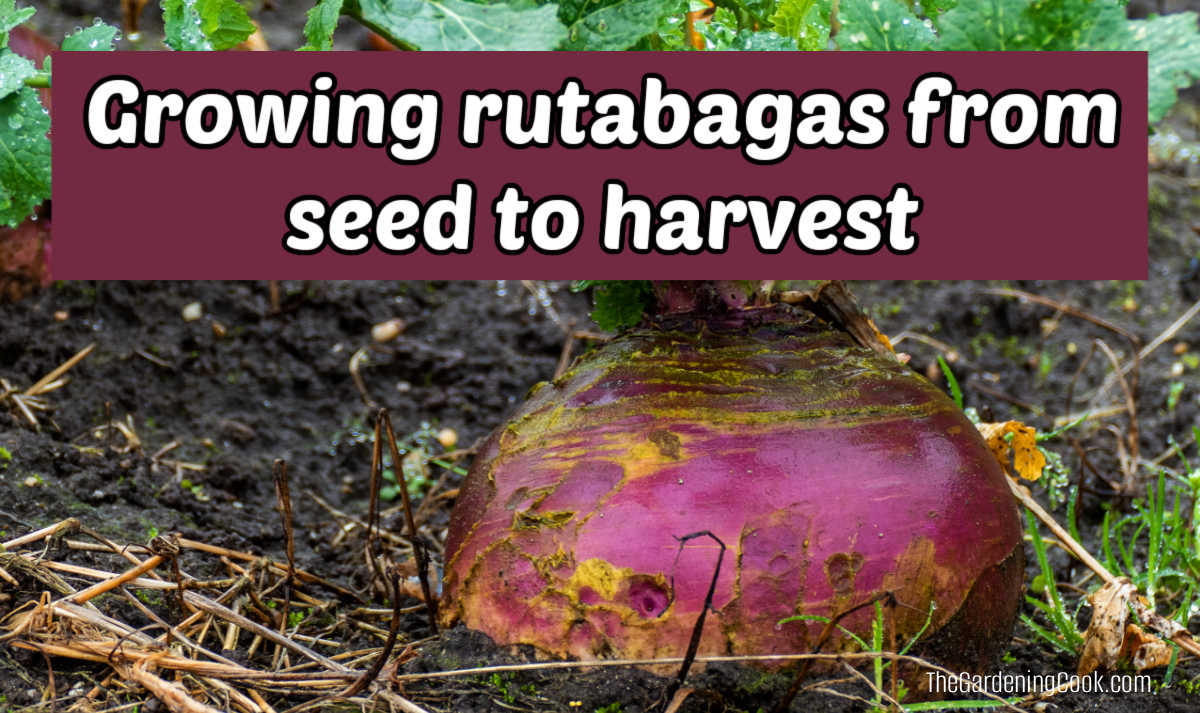
Growing rutabaga overview
Here’s a quick guide to rutabaga care:
- Common name – Rutabaga, swede, neep, yellow turnip, Canadian turnip, Russian turnip
- Botanical name – Brassica napobrassica
- Family – Brassicaceae
- Plant type – Vegetable
- Sunlight needs – 6+ hours of sunlight a day
- Soil requirements – Well-draining, fertile soil
- Soil pH – Slightly acidic to neutral
- Size – 12-18 in (30-46 cm) tall; root 4-5 in (10-12 cm) diameter
- Time to harvest – 90-120 days from planting
- Common pests – Flea beetles, aphids, cabbage worms, root maggots, and caterpillars
- Companion plants – Peas, beans, nasturtiums, spinach, beets
- Hardiness zones – 3-9
- Native area – Scandinavia and Russia

Some of the links below are affiliate links. I earn a small commission, at no additional cost to you, if you purchase through an affiliate link.
When to plant rutabagas
The biggest challenge with growing rutabagas is knowing when to plant seeds so that the plants can grow as long as they need to reach maturity.
Rutabagas can take up to 4 months to mature. They do not like to be transplanted, so sowing seeds directly is best.
Planting time for a fall crop:
Most rutabagas are grown in as a fall crop. If you live in a cool climate, plant seeds in late spring, typically late May to early June in the Northern Hemisphere.
If you live in a warm climate, plant seeds in mid-summer, about 15 weeks before your first expected frost date.
Planting time for an early summer crop:
If you live in a warm climate, you can also grow rutabagas as an early summer crop. To do this, plant the seeds as soon as the soil can be worked and the temperature is above 40°F (4°C). Early summer crops may not have as much flavor as rutabagas that mature in the fall.
How to plant rutabagas (swede)
Choose a spot that gets at least 6 hours of sunlight a day. Rutabagas can adapt to partial sunlight, but they will be smaller and grow more slowly.
Since rutabagas (swedes) are root vegetables, they prefer a well-draining, fertile soil. Their ideal soil pH is slightly acidic to neutral (6.2 – 6.8).
Amend the soil with compost or other organic matter. Dig and rake the soil before planting.
Sow rutabaga seeds ½ inch deep (1 cm) in rows 2 feet (61 cm) apart. Cover the seeds with a mixture of sand and soil to make it easier for the seedlings to break through the soil.
How to grow and care for rutabagas
Once your rutabaga seedlings have sprouted, they need consistent care to ensure they develop into healthy, flavorful roots. You will need to thin the seedlings, water and fertilize properly, and be on the lookout for pests.
How to thin rutabaga seedlings
If you overcrowd rutabagas (swedes), it leads to small and misshapen roots. To prevent this, you’ll need to remove any seedlings that are growing too close together, in a process called thinning.
When germination occurs, thin the seedlings so they are spaced about 1 inch (2.5 cm) apart. Then, do a second thinning when the plants are 3-4 inches (8-10 cm) tall so the seedlings are spaced about 6 inches (15 cm) apart.
This spacing will give the roots room to develop. Thinning also improves airflow between plants, which reduces the risk of disease.
How often to water rutabaga plants
Rutabagas need consistent watering during the growing season. Spotty or light watering will cause the roots to split.
Water deeply 1-2 times a week, depending on your rainfall. The plants need 1 – 1 ½ inches (2.5-4 cm) of water a week.
The soil should be evenly moist but not waterlogged.
Avoid overhead watering, if possible, since wet leaves can lead to fungal diseases. Drip irrigation or soaker hoses help to water plants at the roots.
A light mulch, such as composted leaf mulch, will help keep weeds away from the seedlings and also help control moisture.
Fertilizing rutabagas
Feed rutabagas with a balanced plant food every 3-4 weeks. If you prefer, you can also use a technique called direct composting in trenches between the rows of rutabagas.
This technique involves adding garden waste and kitchen scraps to trenches, covered in soil. The organic matter breaks down naturally and feeds the roots of the plants.
Pests and diseases that affect rutabagas
Be on the lookout for flea beetles, aphids, cabbage worms, and caterpillars, which can all be a problem for rutabagas.
Floating row covers help protect young plants from these pests. Inspect mature plants regularly for any sign of infestation. Treating with neem oil is an organic remedy for common pests.
If you have any badly infected plants, remove and destroy them to protect the rest of the crop.
Root maggots can also sometimes be a problem for rutabaga roots. If you discover these, layer wood ash on either side of the plants to help control root maggots.
Fungal leaf spot and clubroots are diseases that can harm rutabagas. Combat them by practicing crop rotation.
A good way to keep pests away from rutabagas is by utilizing companion planting. The best rutabaga companion plants are peas, beans, nasturtiums, spinach, and beets.
When to harvest rutabagas (swedes)
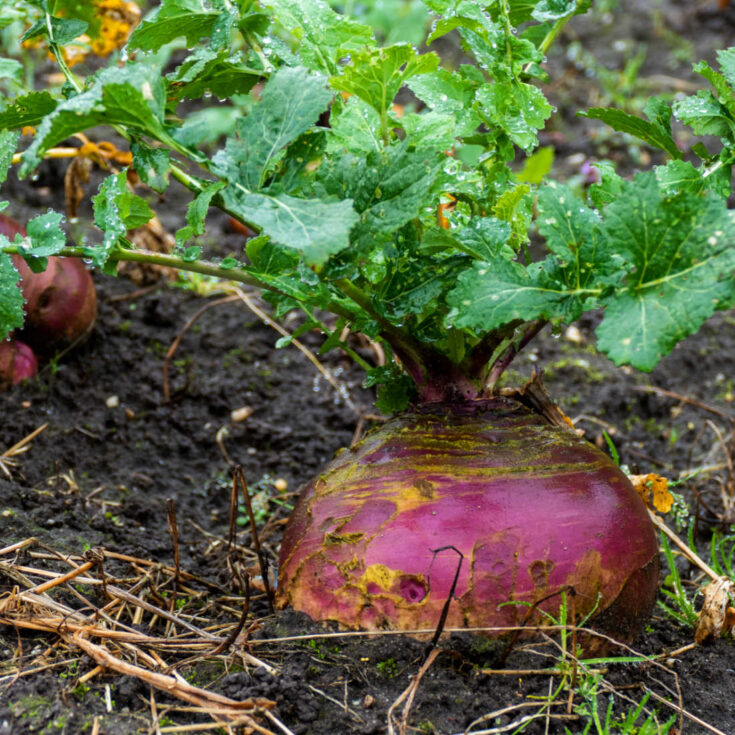
Rutabagas are ready to harvest about 90-120 days after planting, depending on their variety and your growing conditions. Look for roots that are 4-5 inches (10-12 cm) in diameter, with leaves that have started to turn yellow.
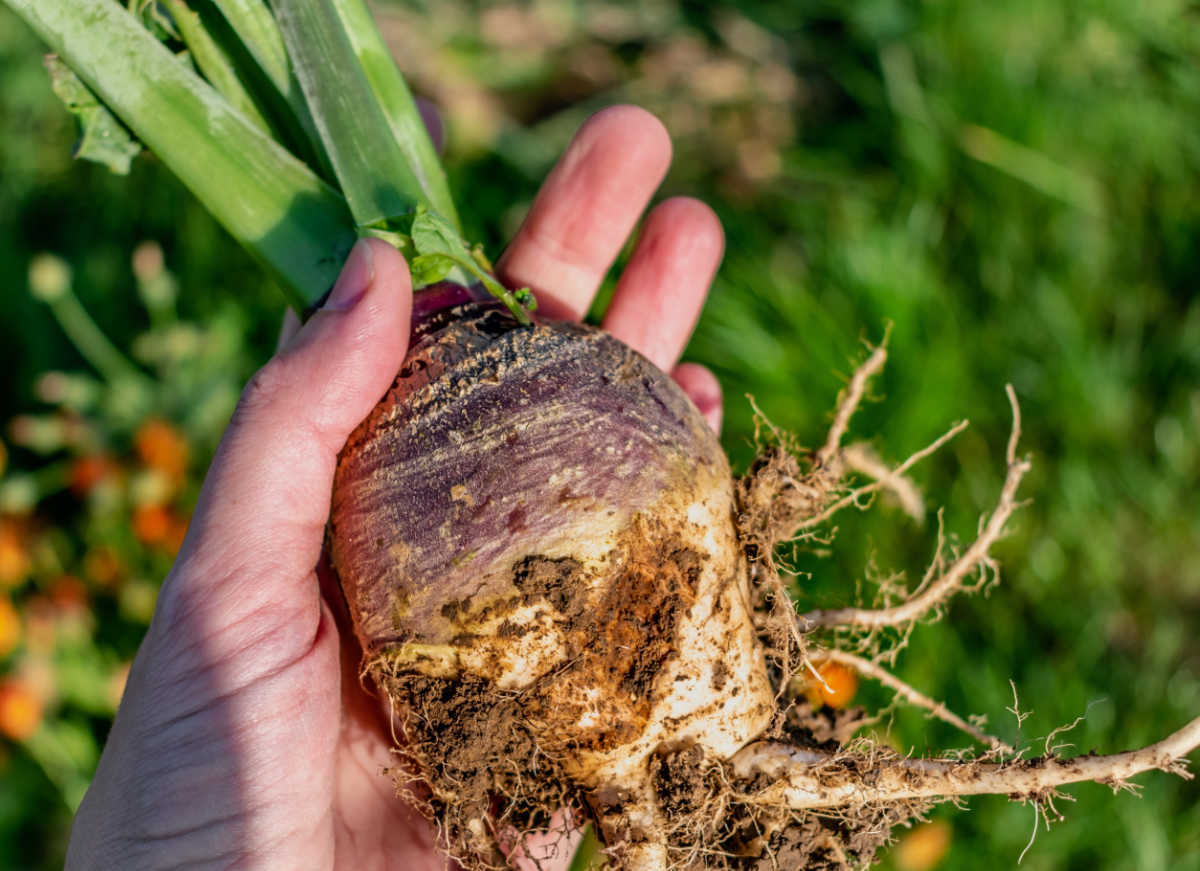
The part of the roots that shows above the soil will be firm, smooth, and round, or slightly flattened. Cracked or soft roots are usually overripe or damaged, so don’t harvest these.
To harvest rutabagas, loosen the soil with a garden tool and gently lift the rutabaga. Remove any excess soil and trim the leaves, leaving 1 inch of stem attached.
Harvesting rutabagas after a frost in the fall gives you roots with the sweetest taste since their starch is converted to sugar with the cold.
Don’t wait too long to harvest, because if you leave roots in the ground too late, they will turn woody and be inedible.

Curing rutabagas
After you harvest rutabagas, it’s important to cure them to help firm up the roots. Curing reduces moisture loss and shriveling. It also helps to prevent spoilage and rot during storage.
To cure rutabagas, place them in a well-ventilated area where the temperatures will be around 50–60°F (10–16°C) for 1-2 weeks.
Storing rutabagas
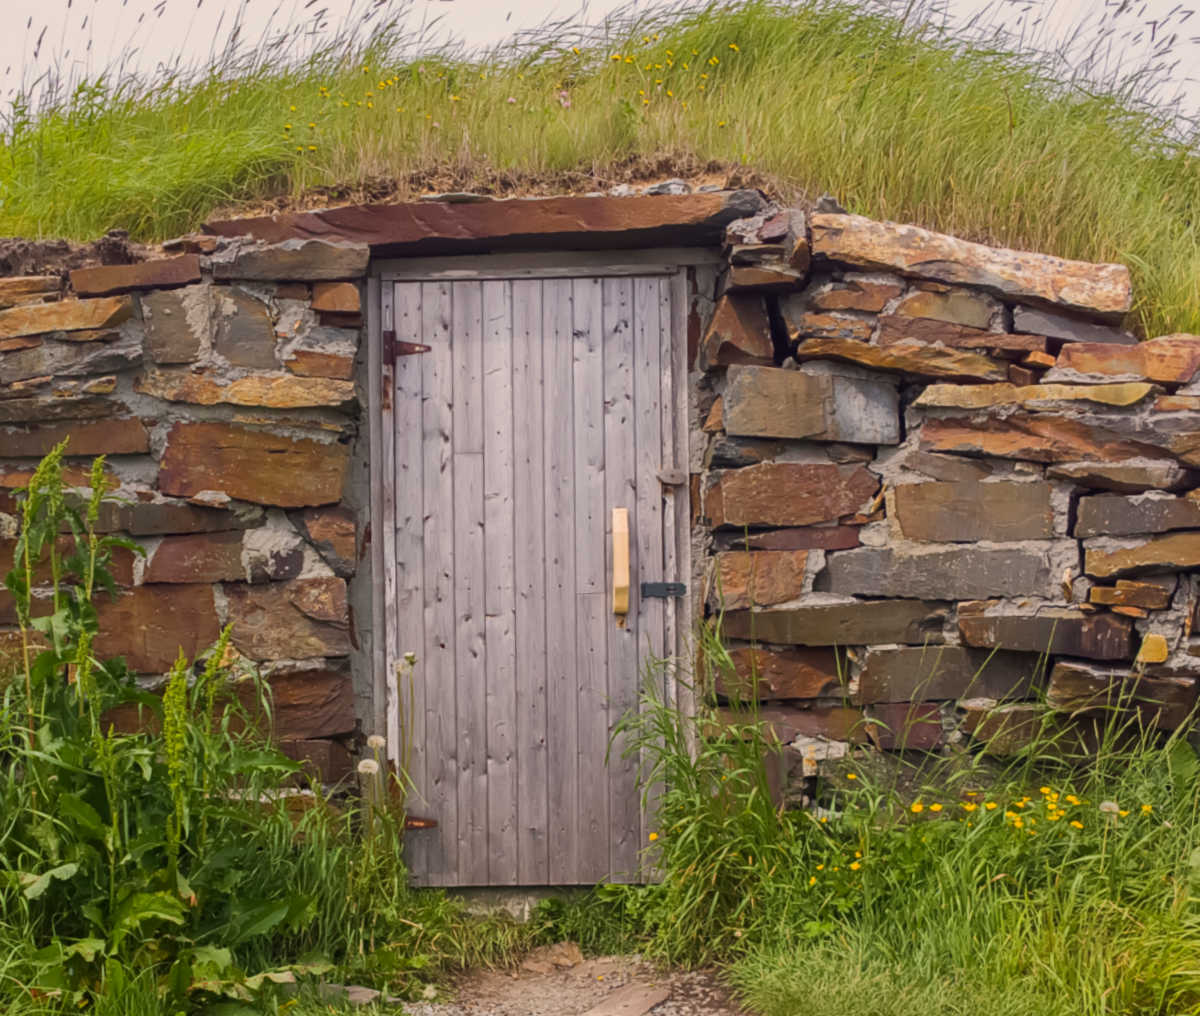
Once the rutabagas have been cured, store them in a root cellar or cool basement. They keep best in temperatures ranging from 32-40°F (0-4°C) with a high humidity level (90–95%).
You can also store them in a perforated plastic bag in the refrigerator.
If you don’t have a root cellar or basement and lack space in your fridge, you can store them outside in mild climates. Pile the rutabaga roots in a trench or bin, covered with sand, sawdust, or straw. This will protect them from a hard freeze.
Properly cured rutabagas can last for 3-6 months, giving you plenty to use for winter cooking.
Whichever method of storage you choose, inspect the rutabagas regularly and remove any that show signs of rotting or shriveling.
How to grow rutabagas printable
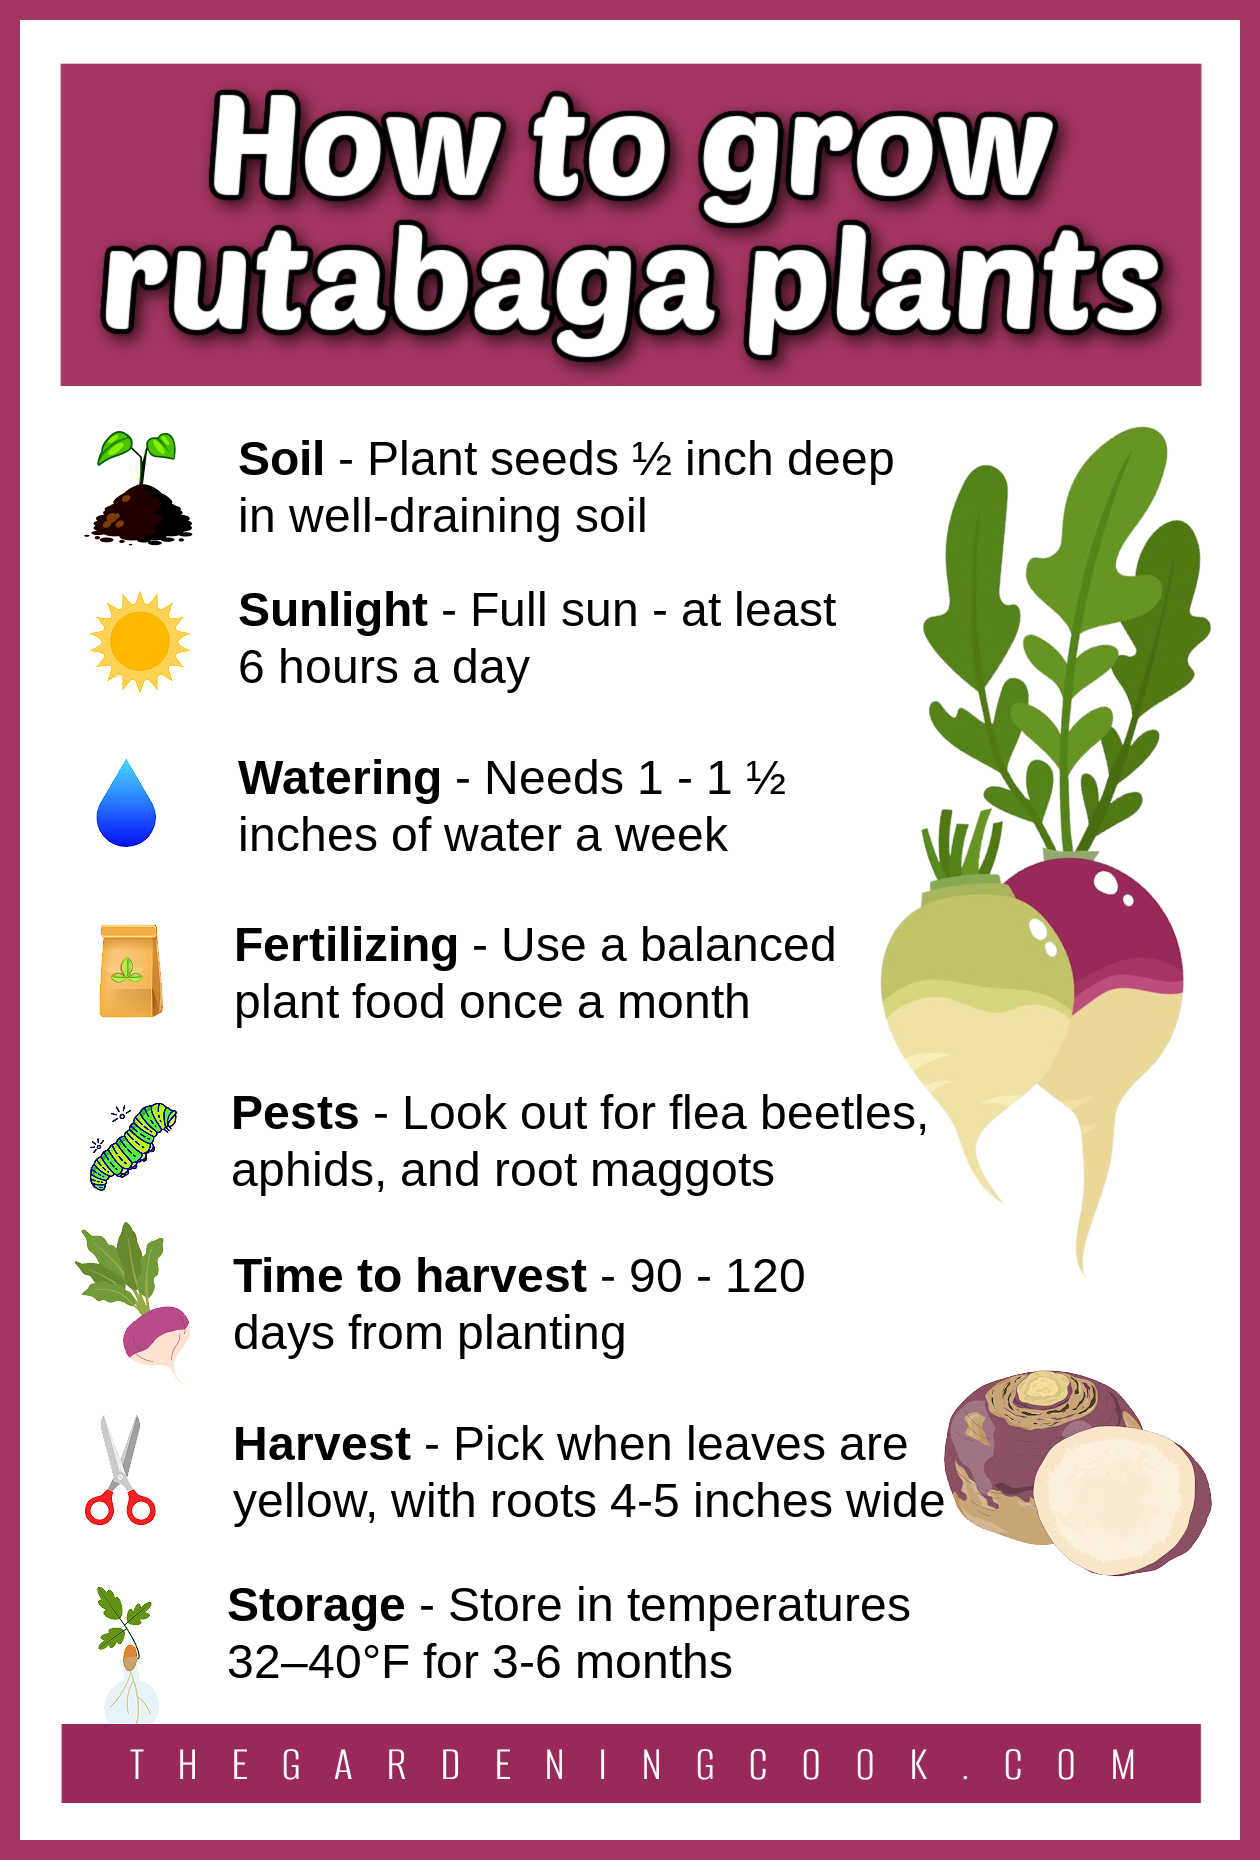
If you’d like a reminder of how to grow rutabagas, you can print out this list of care tips as a high-resolution image here. You can also get the printable from the project card at the bottom of the post in a slightly smaller size.
FAQ: Growing rutabagas (swede)
Do you have questions about growing swede (rutabagas)? Here are quick answers to the most common queries so you can plant, care for, and harvest them successfully.
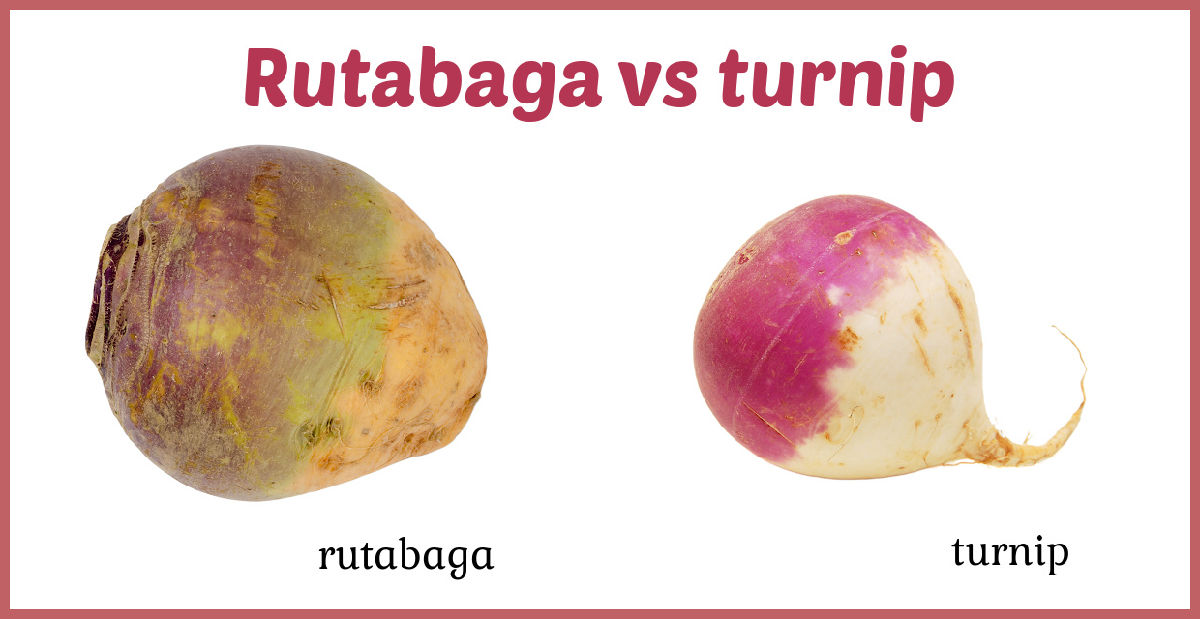
1. Are turnips and rutabagas the same vegetable?
No. Turnips (Brassica rapa) are smaller with white flesh, while rutabagas (Brassica napobrassica) have yellow flesh and thicker, bluish-green leaves.
2. Can rutabagas (swede) be grown in containers?
Yes. Use a container 12-14 inches deep with fertile, well-draining soil.
3. Can I eat the greens of rutabagas?
Yes. Young leaves are tender and mildly peppery. Cook them as you would turnip greens.
4. Can I save seeds from my rutabagas for next year?
Yes. Rutabagas are biennials, producing seeds in their second year. Allow plants to overwinter, collect seeds from dried pods, and store them in a dry, cool place to use the following year.
5. Are there quick-maturing varieties of rutabagas?
Yes, some varieties will mature in about 90 days, including American Purple Top and Laurentian rutabagas.
Share this guide to growing rutabagas on X
If you enjoyed learning how to grow rutabagas (swede), why not share this guide with a friend? Here is a post to get you started:
🌱 Are you ready to grow your own rutabagas (aka swede)? Head to The Gardening Cook to learn how to grow this cool-weather crop from seed to harvest! ☀️#GardeningTips #VegetableGarden #GrowYourOwn #Rutabaga #FallGarden Share on X
Pin this guide for how to grow swede (rutabagas)
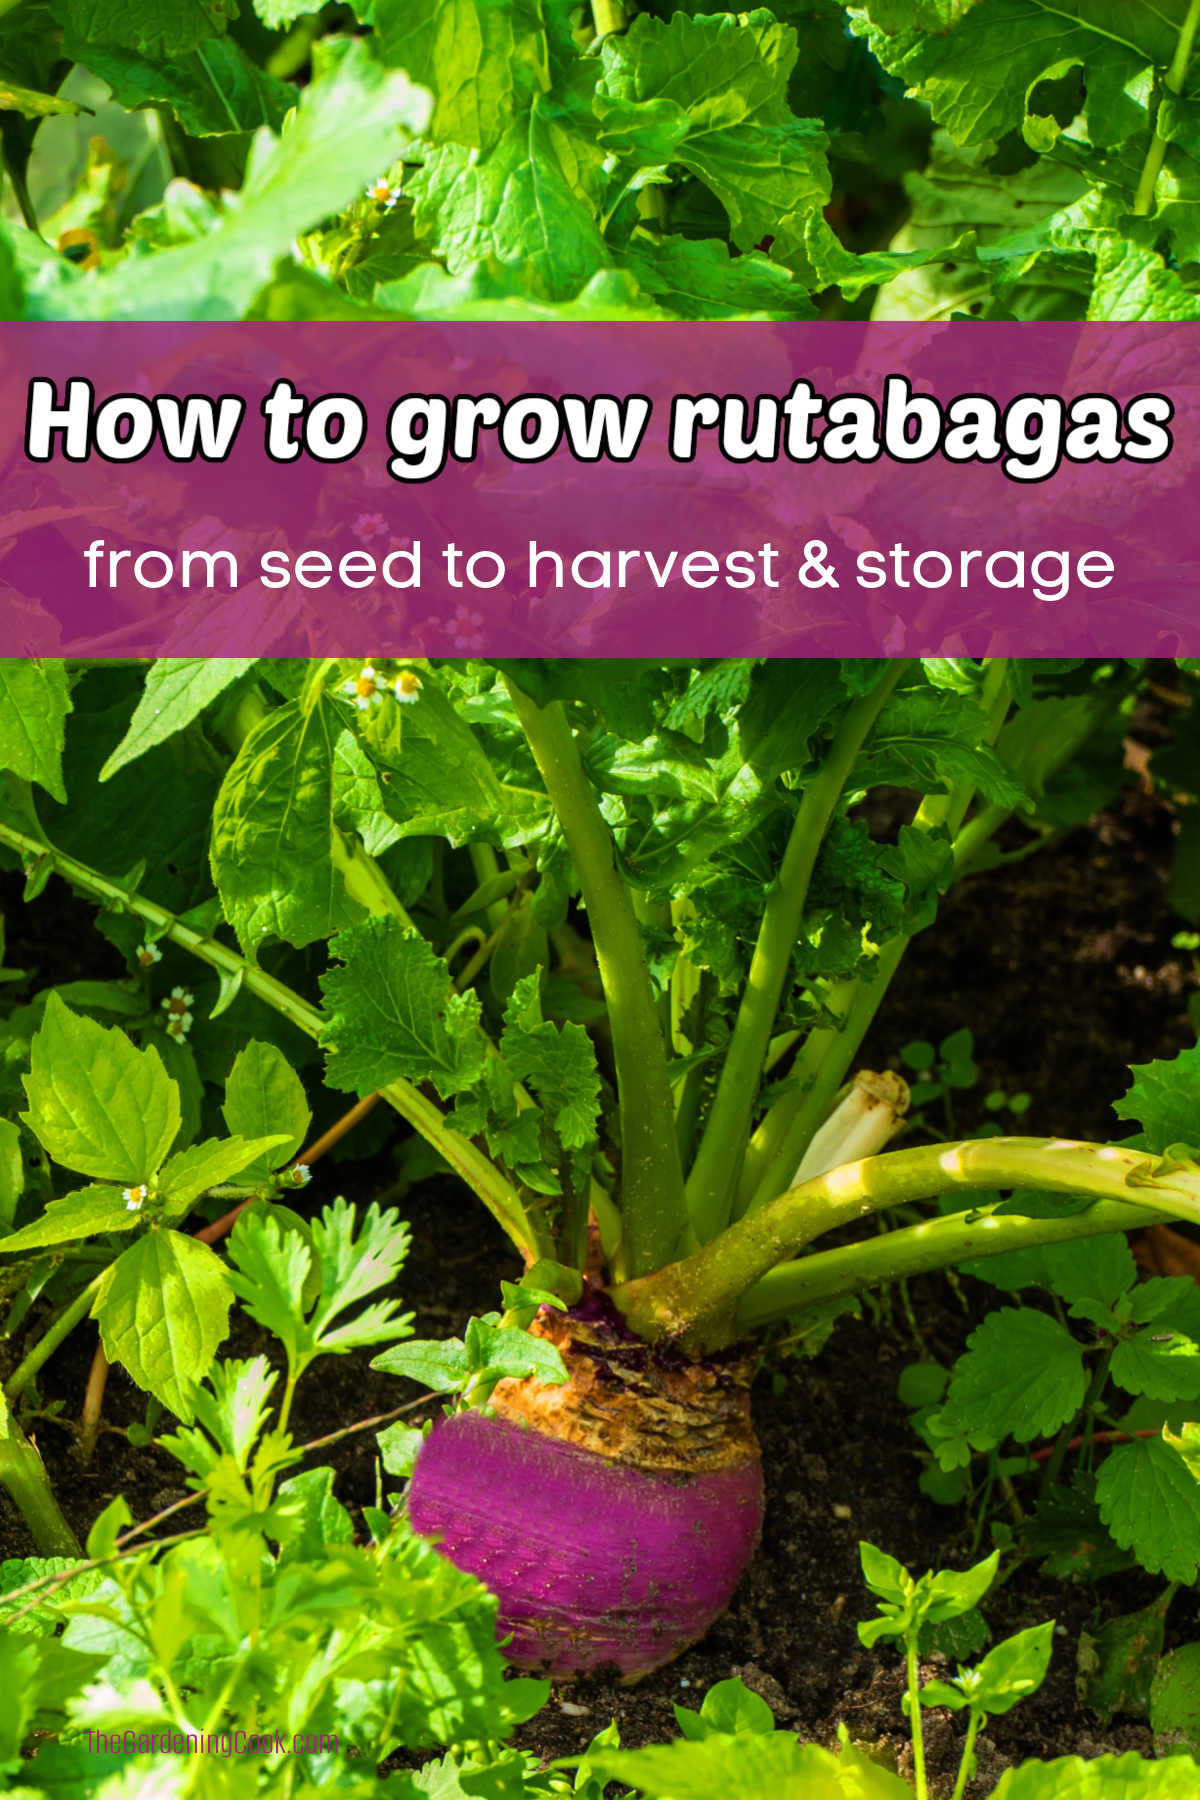
Would you like to have a reminder of these tips for planting, growing, harvesting, and storing rutabagas? Pin the image below to one of your gardening boards on Pinterest so you can find it later.
Admin note: This post first appeared on the blog in May of 2013 as a “today’s harvest” post. I have added more growing tips, an FAQ section, new images, a printable and slideshow video about growing vegetables.
How to Grow Rutabagas from Seed to Harvest
If you are looking for a cool-loving vegetable that is sweet and versatile, try growing rutabagas (also known as swede).
Download this printable showing how to grow and care for rutabagas.
Materials
- Printer paper
Tools
- Computer
- Printer
Instructions
- Load your computer paper into your printer.
- Using the print function on this card will give you a list of rutabaga care tips that fills about ¾ of an 8.5 x 11-inch sheet of paper.
- Choose portrait layout and, if possible, "fit to page" in your settings. Doing this will fill the entire page.
- Alternatively, you can use this link to print the infographic about how to grow rutabaga as a high-resolution image, using the print feature in your browser window.
- After you get this list of rutabaga care tips, you can use them for future reference.
- Please note: Free gardening printables take a long time to make. This list of rutabaga growing tips is for personal use only. If you are sharing this list (and thank you for that!), please link directly to this post and not to the actual image. We appreciate your help in supporting the site. This growing swede (rutabaga) printable may not be used for any retail purpose or mass distribution.
Notes

Recommended Products
As an Amazon Associate and member of other affiliate programs, I earn from qualifying purchases.


