
This DIY Grocery Bag Dispenser Tutorial gives me a place to keep my used plastic bags and is super easy to make, too.
Are you a grocery bag hoarder? I have always been one.
They have so darn many uses, that it is a shame to just throw them away when you come back from a shopping trip. But keeping them tidy can be a problem. 
I recently did a pantry make over, changing it from an over stuffed closet where I couldn’t find a single thing to a mini walk in pantry where everything is super organized and easy to find.
Before the make over, I had a very large cloth bag that held my grocery bags. I made it years ago and it held a lot of them and worked just fine.However, the holders was HUGE and I didn’t want it in my new walk in pantry, so I tried to think of other things that I might be able to use to make a Grocery Bag Dispenser.
As my readers know, I LOVE to make use of things that would otherwise end up in the trash for my craft projects.
Today’s project made use of something that we seem to always have in my house ~ an empty Pringles can.
It’s time to make this Grocery Bag Dispenser!

This article contains affiliate links to help with your crafting experience. There are very few things needed to make this dispenser. All I needed were:
- An empty Pringles can
- Duro Spray Adhesive
- One piece of 12 x 12 scrapbook paper. I chose a fall pumpkin pattern for this container but the choice is yours.
- Boxcutter
- Scissors
I started by measuring the length of the Pringles can and then reversing the scrapbook paper to draw a line for cutting.
Now that the length was taken care of, I needed to measure the width. I just wrapped the paper around the Pringles can and made a little snip at each end.
Then I drew a line and cut the paper to the correct size.

I ended up losing about 2 3/4″ of the paper off each of the cut edges of it.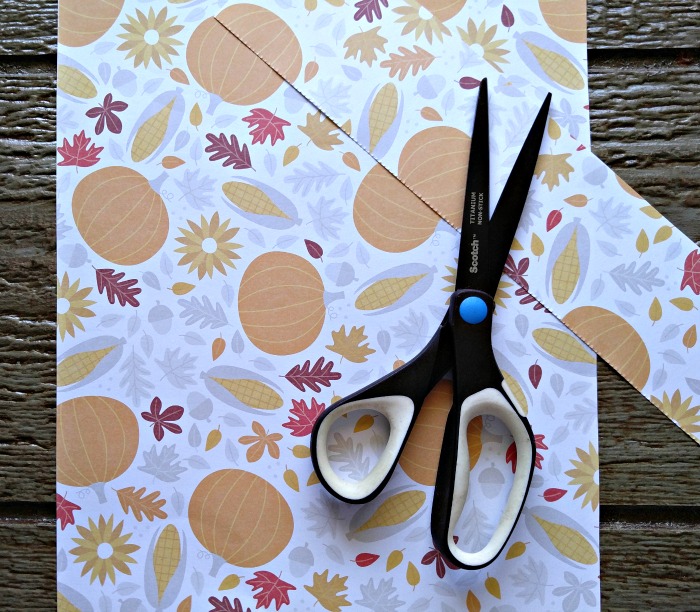
A quick spray of the adhesive gave me something for the scrapbook paper to adhere to. Then it was as easy as just wrapping the paper around the can and applying pressure.

Now comes the fun part. See how many bags you can get into the can! I managed to get almost 25 into mine. A good trick is to place the bottom of each bags through the handle of the one below it.
This will allow the bags to “pop up” through the top opening when you use a bag. This fun YouTube Video shows how to do this.
The final step was to cut a square in the top opening with the box cutter. This will allow the grocery bags to come out the top.

This neat DIY Grocery Bag Dispenser project took all of about 15 minutes to make and is so seasonal looking! One of the fun things about it is that I can change over the paper anytime I want for another seasonal look just by changing my scrapbook paper!
I can’t wait to use the snowmen winter scrapbook paper at Christmas time! Or maybe I will have another Pringles can by then and will end up with two Grocery Bag Dispensers!
The dispenser looks so decorative on my counter that I won’t have to keep it hidden in my pantry the way I did with the old one!
So grab your scrapbook paper, spray adhesive and an old Pringles can and get crafting. Yours will be finished in no time, too!

What do you use to keep your grocery store plastic bags organized. I’d love to hear about it in the comments below!
For more fun projects, be sure to visit my Pinterest DIY Board.