These 20 seed starting tips will help you to get your garden going early this year. With seeds, it’s never too early to get gardening!
There are some plants that need a long time to mature, and others, like bell peppers, which need extra time to turn red. Starting seeds indoors helps with these. I’ve even got a DIY seed starting mix for you to use!
The holidays have come and gone and most of us are hunkering down for the colder months of the year. But wait – now is the perfect time to think ahead to spring and even get a head start on it by starting our own seeds for vegetables, perennials and indoor plants. 
These tips work for both indoor plants and also those that will be growing outside in a few months Both annuals and perennials can be started from seed.
If you love to cook, you can also try your hand at growing herbs from seeds, too.
Get a Jump Start on Spring with these Seed Starting Tips.

Growing plants from seeds is not always easy, but these seed starting tips should help to make sure that your seeds get off to a healthy start. You can use these tips for both flower and vegetable gardening.
1. Should you use Seeds or Seedlings?
You can, of course, buy seedlings from any local nursery or big box store when the season actually starts, but starting your own plants from seed will give you a much wider variety than anything that you can buy locally.
2. Where to buy seeds?
Sign up to have seed catalogs delivered to you each year. Many online companies offer this service. You will want to order seeds in plenty of time to get them planted for spring.
You can buy seeds locally, but the variety from seed catalogs is so much greater than the ones you can buy from the big box stores that you will want to experiment. 
One of my local produce and small garden centers also sells heirloom seeds that they have in bulk.
Seed swapping groups are a great place to get non GMO heirloom seeds.
As an Amazon Associate I earn from qualifying purchases. Some of the links below are affiliate links. I earn a small commission, at no extra cost to you, if you purchase through one of those links.
Amazon is a great place to buy all sorts of garden seeds because of the variety that you might not find at your local stores.
3. Keep Good Records for seed starting attempts.
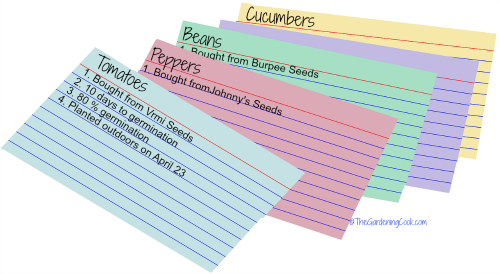
It is a good idea to keep written records of your seed starting endeavors. This will allow for better planning for the subsequent years and you will find that you will get better at seed starting by taking note of what happened the year before.
Good things to keep track of are where you purchased the seed, the date of germination, your success rate and when the seedlings were ready for transplanting.
4. Store seeds properly.
Seed starting tips won’t be any use if your seeds don’t germinate. Seeds can be very fragile, and if they are not treated properly, their viability will sharply decline.
To maintain their dormancy, keep the seeds in a cool, dark location with low humidity, such as a fridge. Either purchase new each year, or be consistent about storage of older seeds.
I keep my seeds refrigerated if I have extra seeds, but do try to use what I have each year if possible and then start new in the next year.
The exception is my heirloom seeds that I collect myself. These are always kept in my fridge in sealed plastic containers.
 5. The container for starting seeds is important.
Seeds are best started in wide shallow containers so that they do not crowd each other. Also, plastic pots are best for starting seeds, rather than clay pots, since plastic holds in moisture better. You can purchase seed starting trays or use any number of containers such as:
- old plastic butter containers
- yogurt containers
- egg shells (just plant the whole thing in the ground in the spring!)
- Rotisserie chicken plastic containers (with the lid, it acts like a terrarium!)
- old plastic four or six piece seedling trays from previous years plantings
- You can even make your own seed starting pots from newspaper.
Just be sure there is some sort of drainage in the bottom of whatever container you choose. And the container must be clean. To sanitize your container, soak it in a 10 percent bleach solution for about 15 minutes and let it air dry before planting. I have used everything from basic containers to professional seed starting “greenhouses” with good success. (affiliate link).
I have a whole tutorial devoted to starting seeds using peat pellets in a green house tray. Check it out here.
6. Use a seed starting mix.
#6 of my list of seed starting tips concerns the soil you use. Regular potting soil is too rich for seeds. Use a special seed starting mix designed just for this purpose.
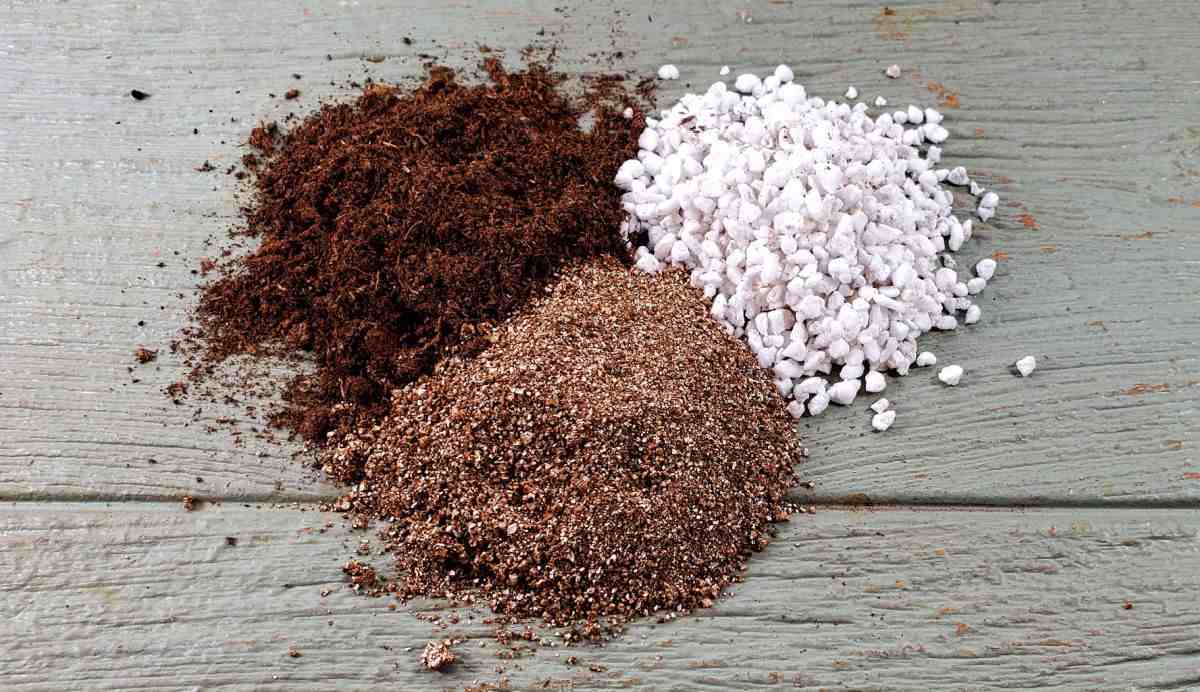
Seeds need only moisture, warmth and air to germinate, they are started in nutrient-free materials such as vermiculite, shredded moss or a mixture of equal parts vermiculite, peat moss and perlite.

Either mix your own or purchase a retail seed starting mix.
As an Amazon Associate I earn from qualifying purchases. Some of the links below are affiliate links. I earn a small commission, at no extra cost to you, if you purchase through one of those links.
DIY Seed starting mix
If you choose to make your own seed starting mixture, this recipe will work for seeds.
- 8 parts peat moss (moistened ahead of time)
- 1 part vermiculite
- 1 part perlite
Dump everything into a large bowl or bucket and mix well.
7. To cover new seeds or not?

Very small seeds and those that require some direct light to germinate should lie directly on the surface of the seed starting mix.
For those that need covering, the cover should be 2 times the diameter of the seed. (a kitchen sieve works well for covering these seeds.)
Be sure the seeds are in firm contact with the planting medium. Just tamp them down with something flat, such as the bottom of a glass.
8. Water your planting medium before you plant the seeds.
If you wait until after you have planted the seeds to water, you will just wash the seeds into the corners of the container or bury them too deeply.
Lightly water the seeds until the seedlings start to grow, (a mister works well at first) at which time you can water more heavily.
Warm water is best for good absorption.
9. Label new seedlings.
Nothing is worse than a whole tray of seedlings that all look pretty much alike with no idea of what is planted there. Take it from me.
This is a biggie in my list of seed starting tips. Take the time to label the seeds even if you are sure you will remember what they are later.
If you are anything like me, you won’t!. Cut your own labels from plastic jugs, use old Popsicle sticks or buy retail plant labels, but just be sure you mark them in some way.
10. Air flow and drainage are important for seeds
A 50/50 sprinkling of sphagnum moss and chicken grit will help to keep the surface of your planting medium dry.
This works towards preventing the growth of pathogens and bacteria that will kill new seedlings but it will still allow them to grow through the covering.
Even a little bit of finely chopped straw on top of the seed mix can help. A fan running near by also keeps the air flow as it should be.
11. Use plastic to ensure constant moisture level on seeds.
Seedlings are very sensitive to both under and over watering. Plastic on the top of the container helps to keep the planting medium as a constant moisture level.
Check the containers daily though. If they need watering, soak the whole container in a larger basin that has 2-3 inches of water. Allow the water to “wick up” to your seed starting container.
Remove the plastic when the seeds germinate and start to show above the surface of the soil. Remove the plastic for a bit of time each day so that the environment is not too humid, which can lead to damping off and other problems.
A chicken rotisserie container makes a great terrarium like container for plants.
12. Warmth helps seed germination.
There are many seed starting kits that have heat mats which are meant to sit under the containers to help with germination. But a sunny window, or the top of a refrigerator or water heater, or even close to a wood stove will also give extra warmth to help with germination.
Keep an eye on watering if you have extra heat since it makes the soil dry out more quickly. Read your instructions though.
Some seeds actually need cold to germinate, not heat! The first leaves that form – “seed leaves” are not the true leaves of the plants.
 13. Turn your containers of seedlings each day.
Just like with any house plants, your seed trays will need to be rotated each day, or the seedlings will “reach” for the light and become very leggy and mis-shaped.
This is not necessary if you have some sort of overhead grow light set up. You can purchase a grow light set up online or even use a florescent light fixture that you may have on hand.
 14. Know when to add some extra light for your seeds.
As soon as the seed nudges up above the soil, it will need light. Seeds grown in low light will develop long spindly stems and will be weaker seedlings.
A south facing window is best since it gets the most light and new seedlings need 12-16 hours of light each day.
15. When to transplant seeds?
Small seedlings need room for roots to grow and should be in their own small containers and not crowded in trays with other seedlings. Some, like tomato plants, have easily damaged root systems and will develop leaf curling if mishandled or transplanted incorrectly.
If the seedlings are growing too quickly you can thin them out with tiny scissors. (don’t pull them out or it will disturb the seedlings nearby.)
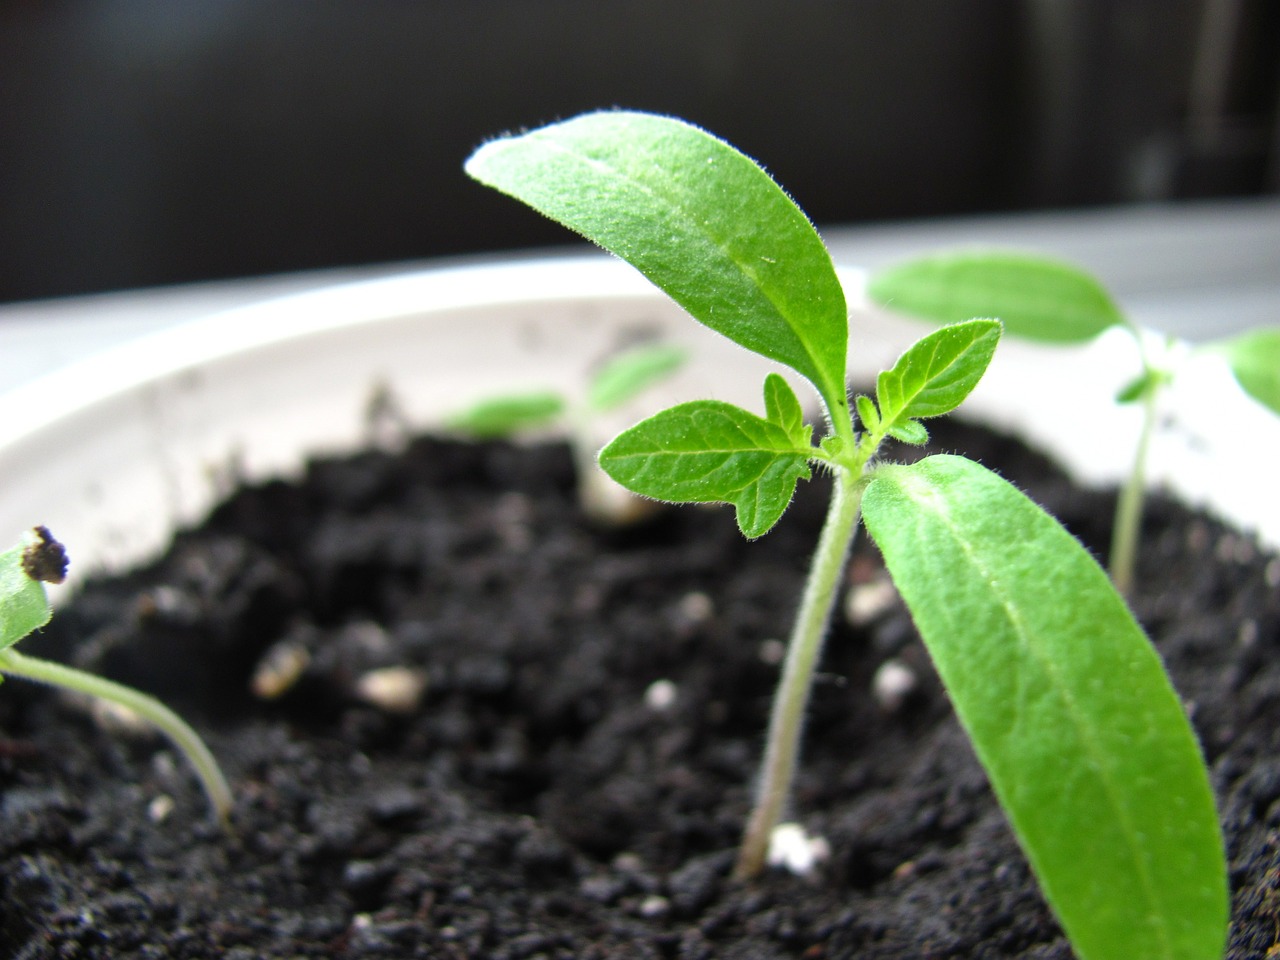
Wait until your plant has its first set of “true leaves” to transplant the seedlings but make sure to do it before it has two sets of real leaves.
16. How to transplant seedlings.
Get your new containers ready. Use new potting soil now. The soil-less mix was for starting the seeds. Now that they are growing, they need some nutrients that comes from soil.
Prick out the seedlings with a special tool, or a fork. Spread out the roots carefully and cover with soil. Water well and keep them evenly moist.
 17. Should you fertilize new seedlings?
Your new seedlings won’t need any special fertilizer for a few weeks. After that time, a half strength solution can be used until you are ready to plant them outside.
Be careful not to use full strength on new seedlings. This is one of the most important of my seed starting tips. Don’t burn those young seedlings!
 18. Let new seedlings get used to the outside.
You have containers of eager seedlings all set to go in the garden, but don’t be in a rush. Seedlings need to get use to being outside.
Take their containers outside on warm days in the spring but keep them lightly sheltered, adding a few more hours of sunlight each day until they are used to being outdoors.
This is called “hardening off” your seedlings. It will take about a week for the plants to get used to the outdoors. Be sure to bring them in at night.

Photo credit Flickr
19. The ideal planting day for new seedlings.
It is a warm sunny day and you, and your hardened off seedlings are eager to get in the ground. Should you plant? The short answer is a resounding NO.
The ideal planting-out day is cloudy and slightly damp. After you plant each seedling, water it in and then cover the roots with fine loose soil.
And be sure that the last frost date for your area has passed and your soil has warmed. If your area is having a cold spring, hold off on planting for a little longer.
You don’t want to kill those babies that you have been nurturing all these weeks do you?
 20. Think about using row covers for new seedlings.
And finally, the last of my seed starting tips. Seedlings from nurseries have been hardened off and are very used to being outside so they don’t need extra protection.
You may want to consider some row covers for the first few days or so of having your hand grown seedlings outdoors to give them the best start.
Isn’t it wonderful to know that you have a huge head start on spring with seeds that you have started yourself indoors? These seed starting tips will be a big help for this!
When to sow and transplant seeds
If you plant directly outdoors, this is a great chart showing when to plant the various seeds. This planting guide with information from the University of Minnesota should cover most areas of the continental USA.
I live in zone 7b and I can plant outdoors much earlier than this chart since my winters are mild so your mileage may vary too.

Do you have some seed starting tips that you would like to share? I’d love to hear about them in the comments below.
Pin these seed starting tips for later.
Would you like a reminder of these tips for starting seeds? Just pin this image to one of your gardening boards on Pinterest so that you can easily find it later.
Admin note: This post first appeared on the blog in January of 2015. I have updated the post to add all new photos, a printable “when to sow” chart and a video for you to enjoy.
When to Sow Seeds Printable

This chart gives a good idea of the time to start your seeds indoors as well as when to transplant outside.
Materials
- Heavy cardstock
Tools
- Deskjet printer
Instructions
- Print out this chart on heavy cardstock or glossy printer paper.
- Attach to your shed wall, or gardening journal to give information on when to sow seeds.

Jamie
Wednesday 18th of March 2020
Actual fine written threads. It will be helpful to anyone who uses it, as well as me. Have responsibility what you are doing – i will certainly read additional posts.
Ann Bradley
Sunday 18th of February 2018
Great article! I was just wondering what zone your 'Sow What' chart is aimed at? I am in zone 7b, fairly new to gardening, and a little over whelmed with all the info out there! Lol Thank you!
Carol
Sunday 18th of February 2018
Hi Ann. The chart is not really aimed at any particular zone, but from the dates on it, it should cover most of the country that gets really cold in the winter. I am in zone 7b and I plant outdoors at least a month earlier than the chart. Carol
Jono
Saturday 18th of February 2017
Have you ever tried starting seed in an eggshell? If you keep it as intact as possible, wash it out, fill with some soil and plant the seed. When it is time to transplant just break the bottom of the eggshell and put it all in soil. The eggshell is also good for the plant. Hope this is a little interesting. Love the article though very informative, thanks.
Carol
Saturday 18th of February 2017
Hi Jono. Yes, I tried that last year. It worked like a charm. Glad you enjoyed the article! Carol
Wednesday-Elf
Monday 16th of March 2015
Wonderful tips, especially handy for non-gardeners who need lots of help getting started!
admin
Monday 16th of March 2015
Thanks! Glad you liked the post. Carol
ozge
Sunday 1st of February 2015
These pics are amazing. i will share them on my blog.